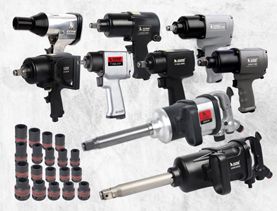
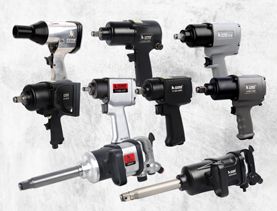
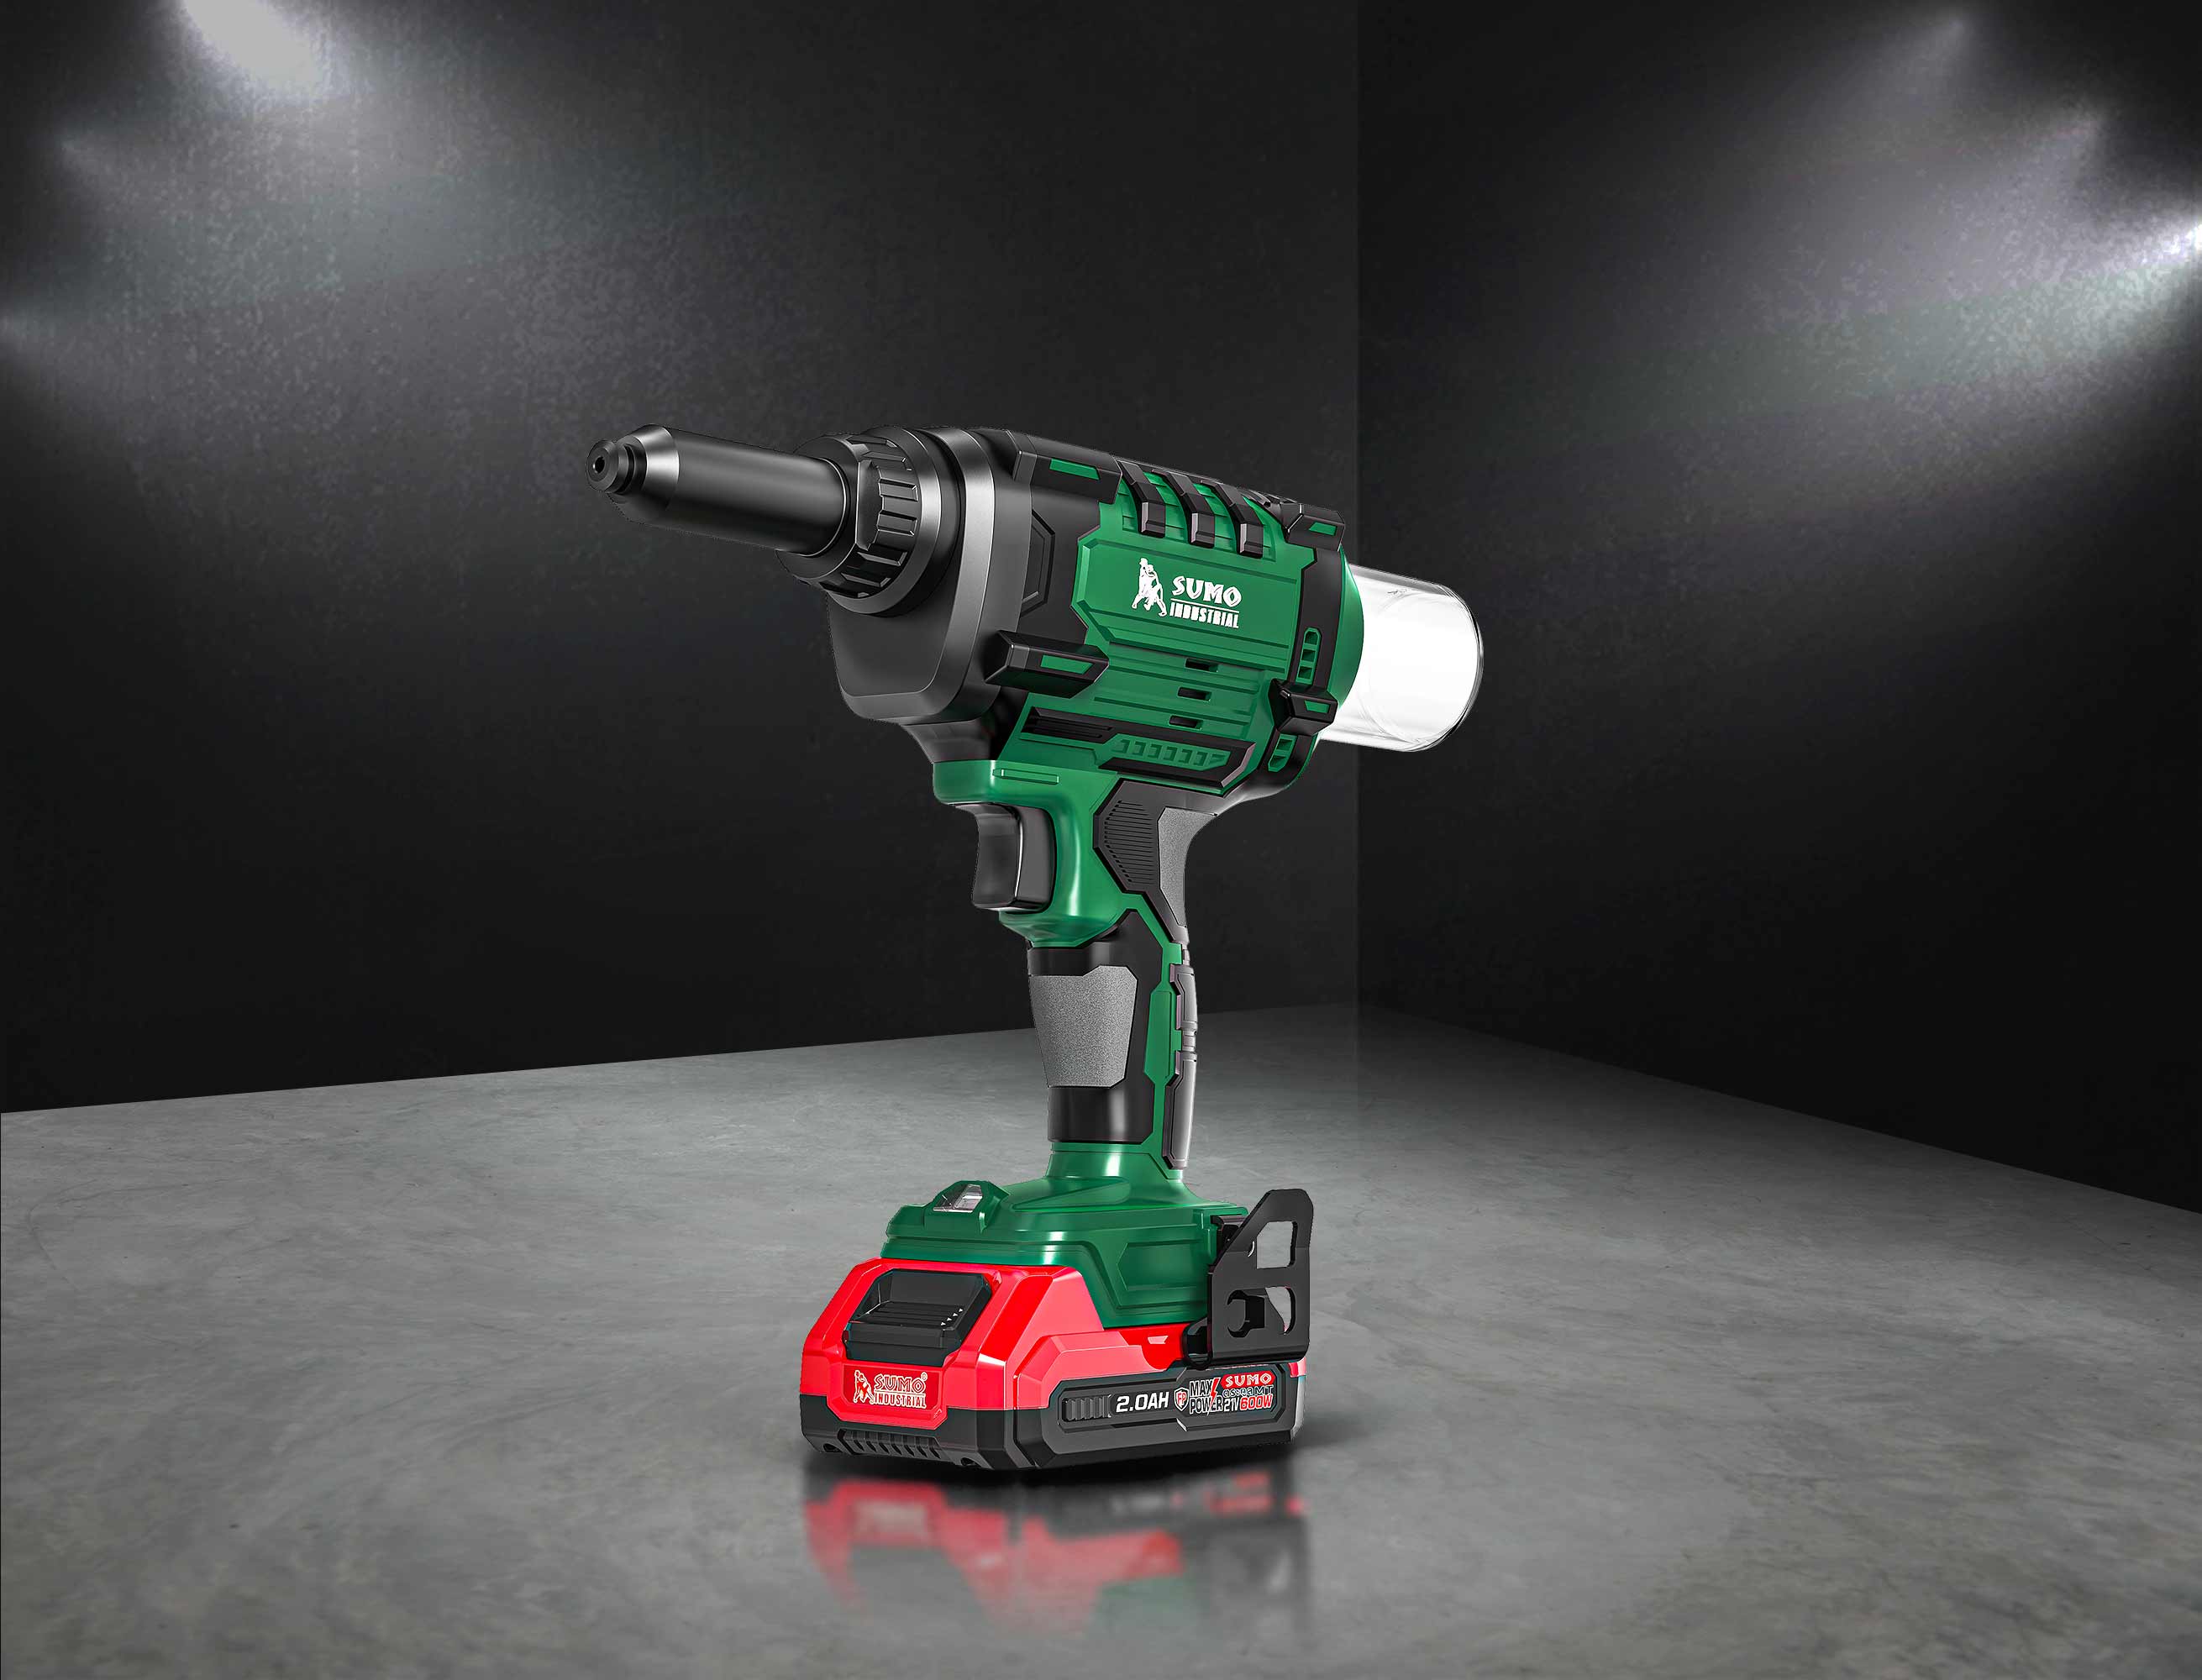
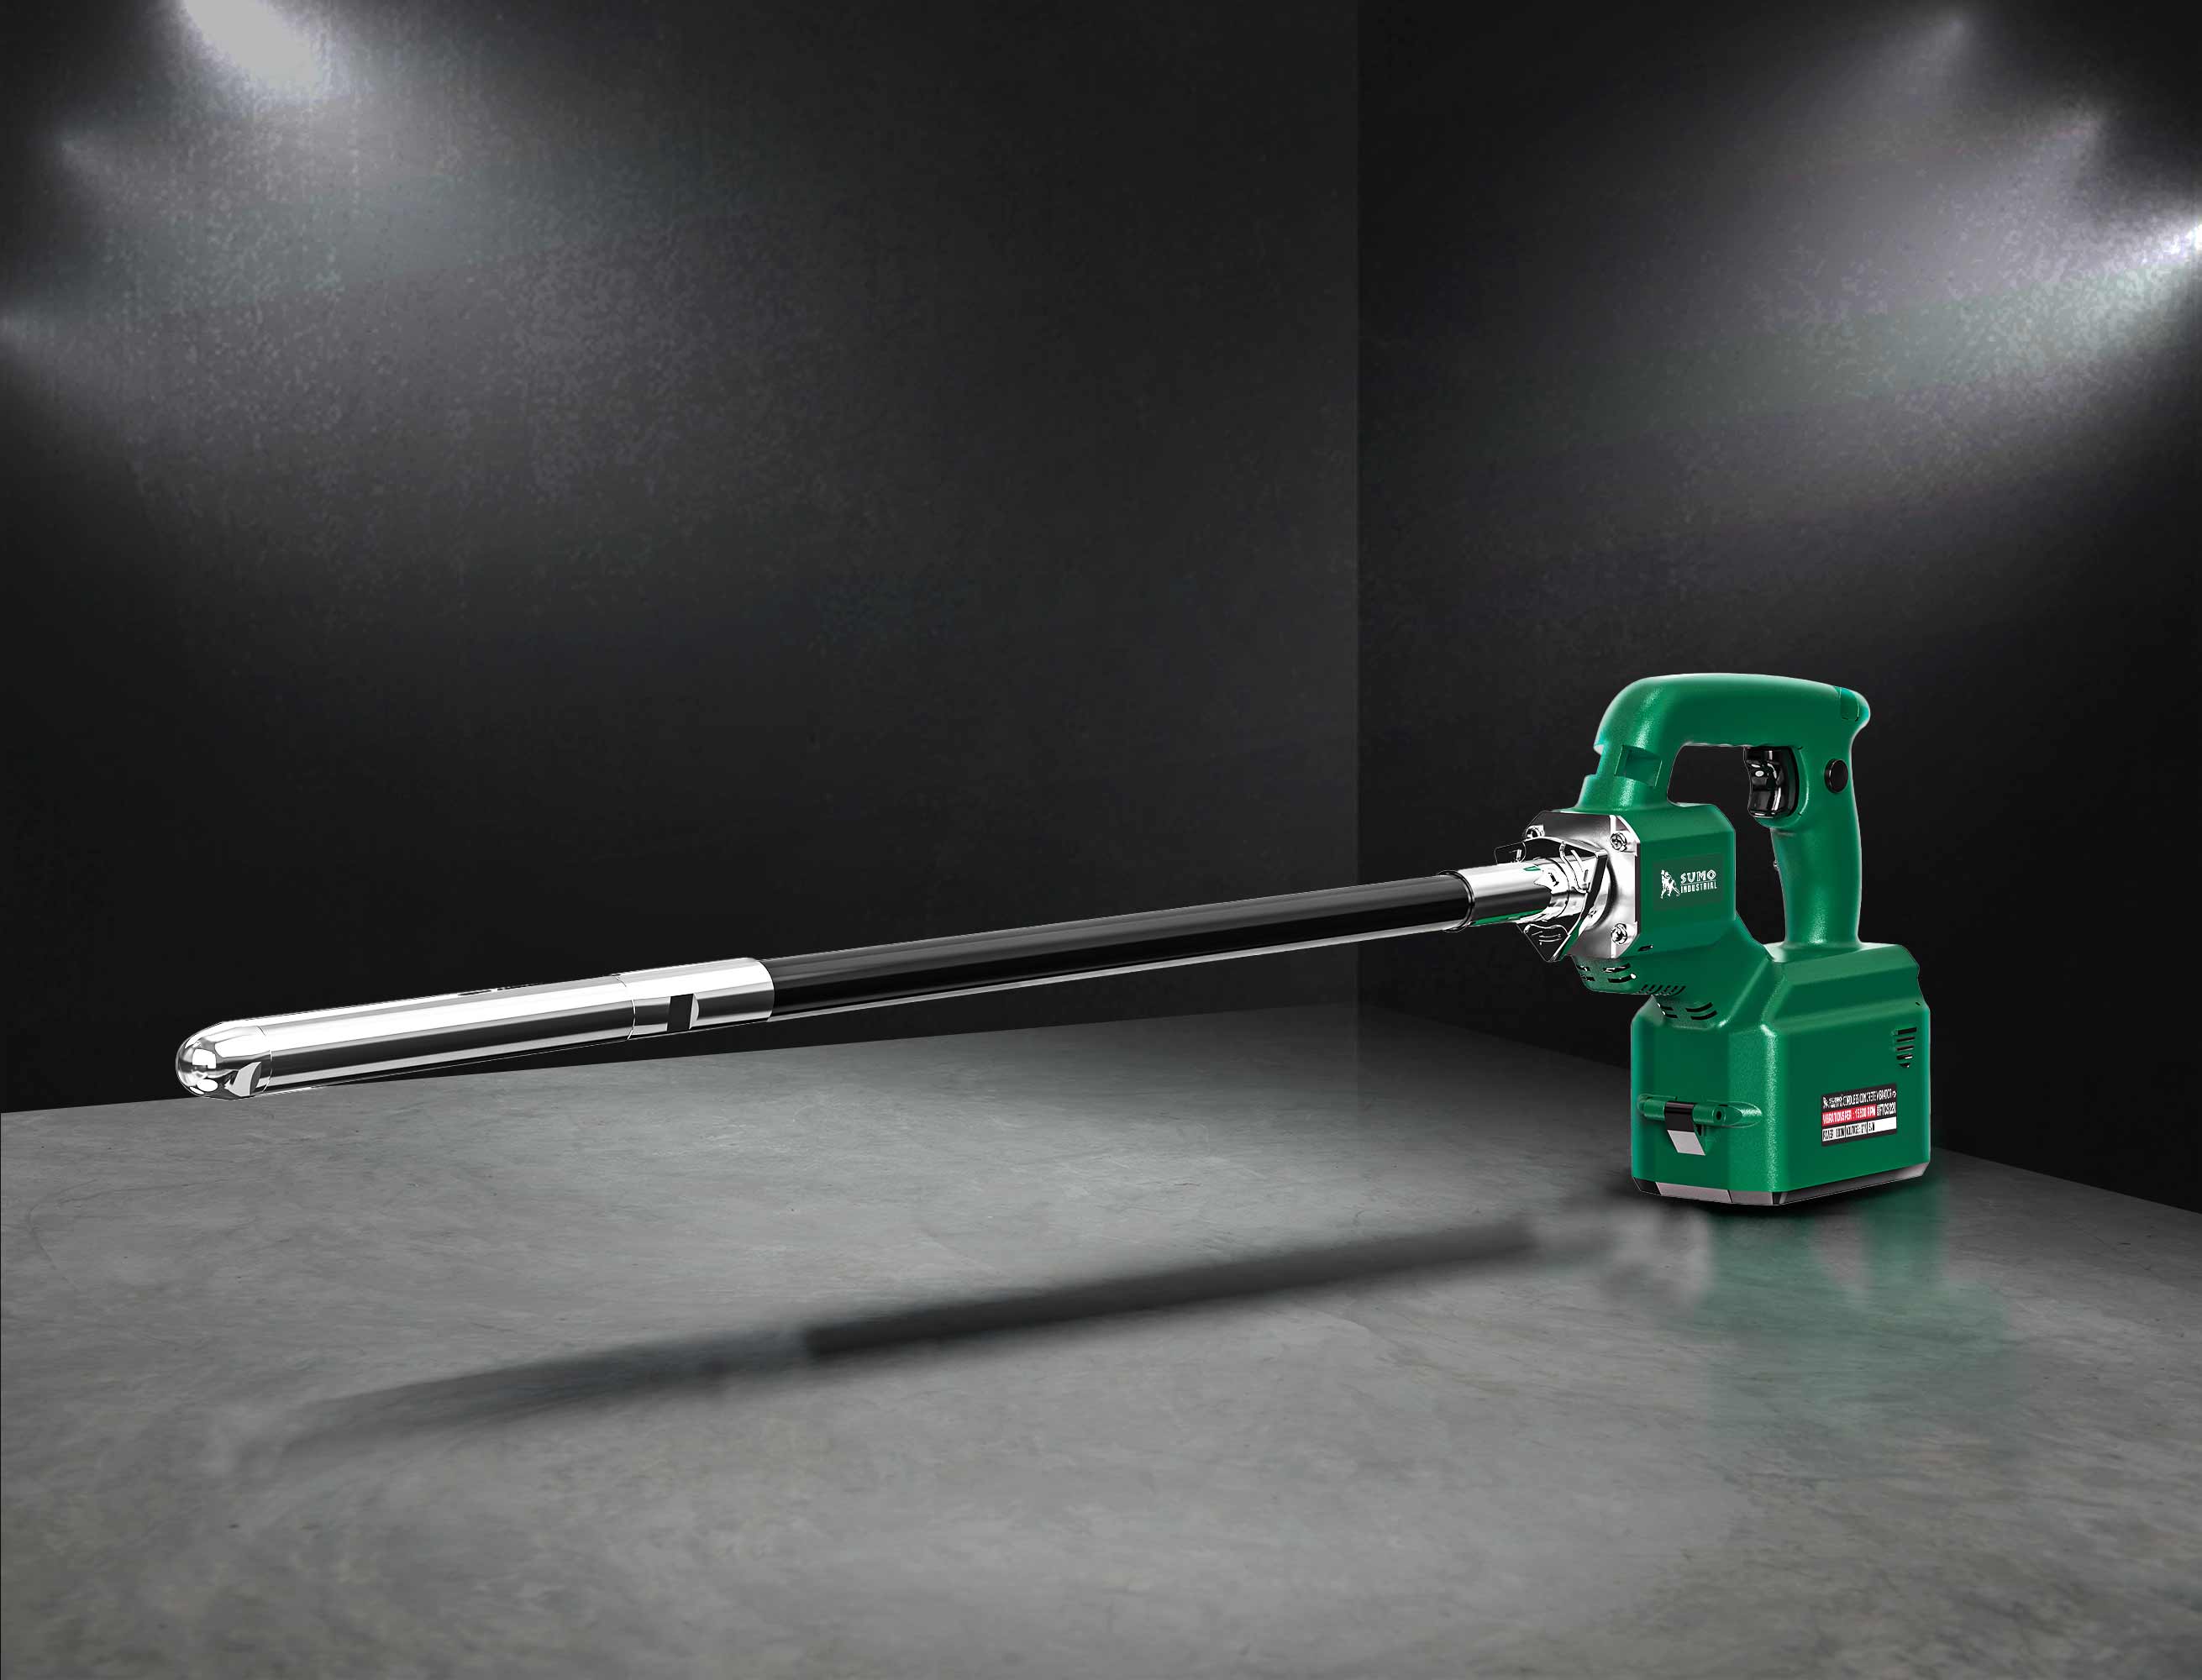
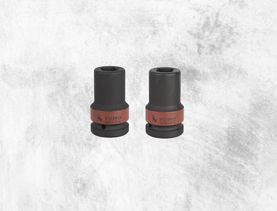
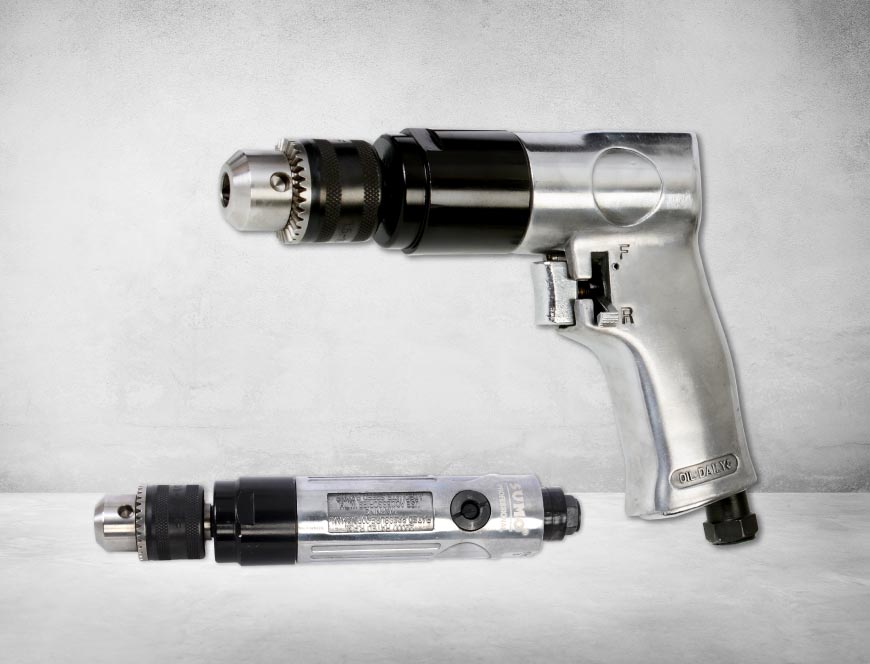
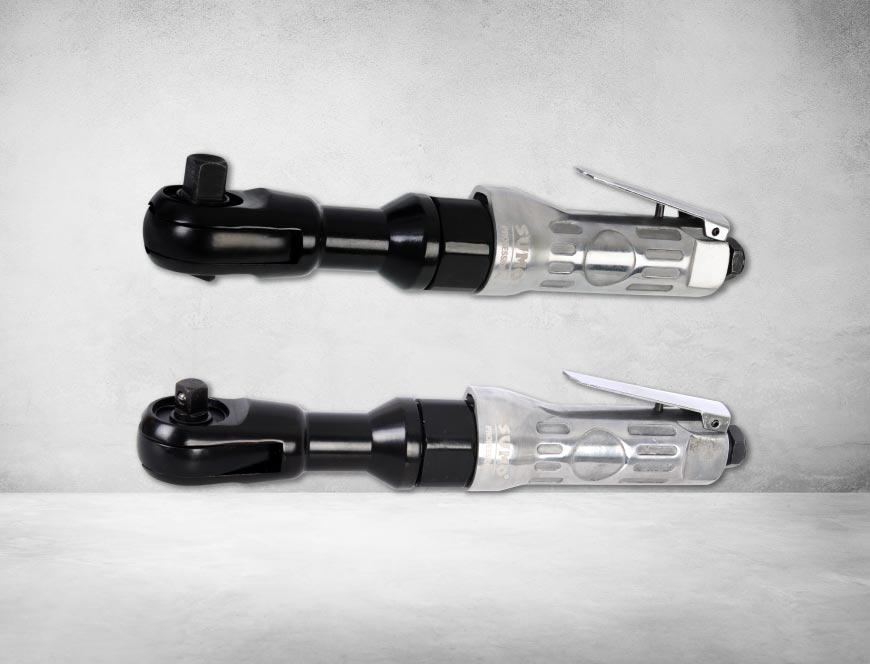
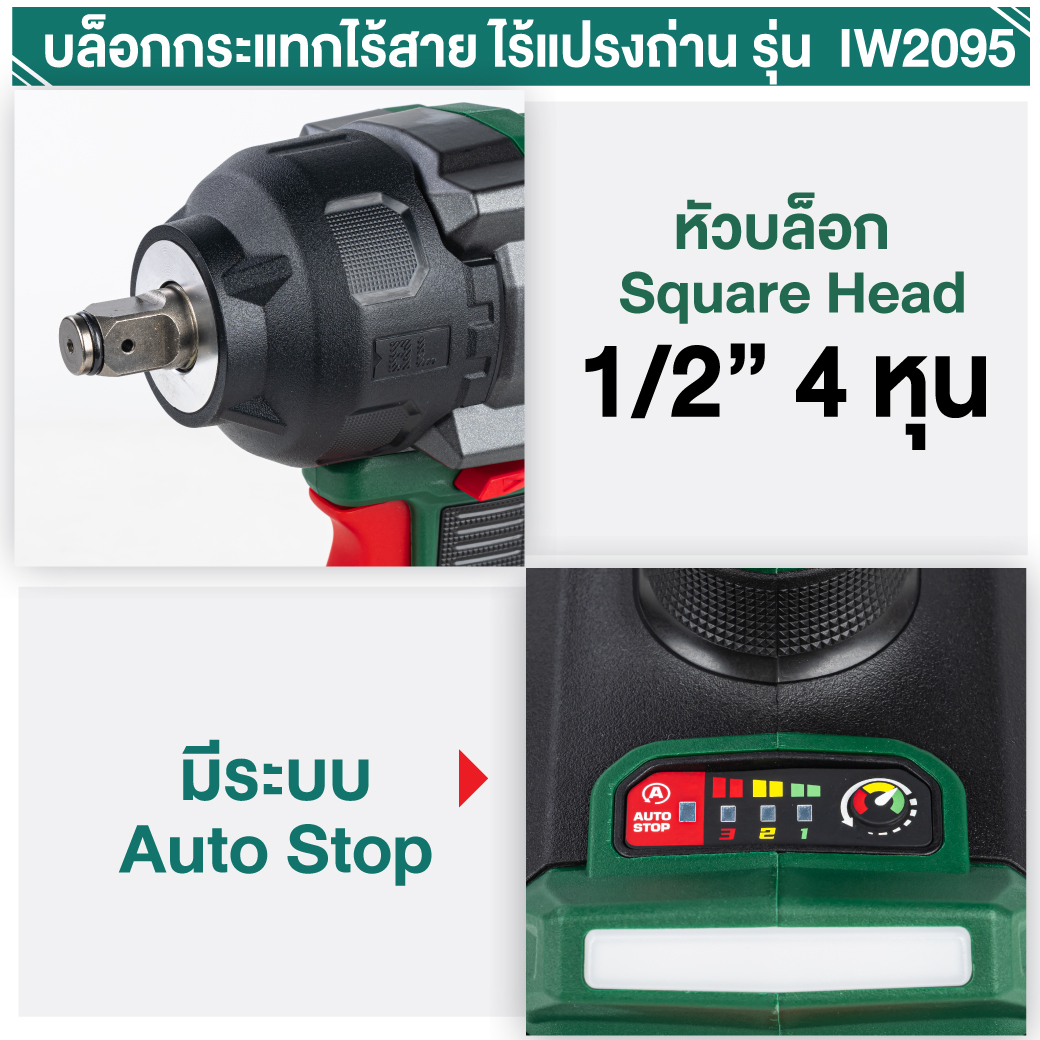
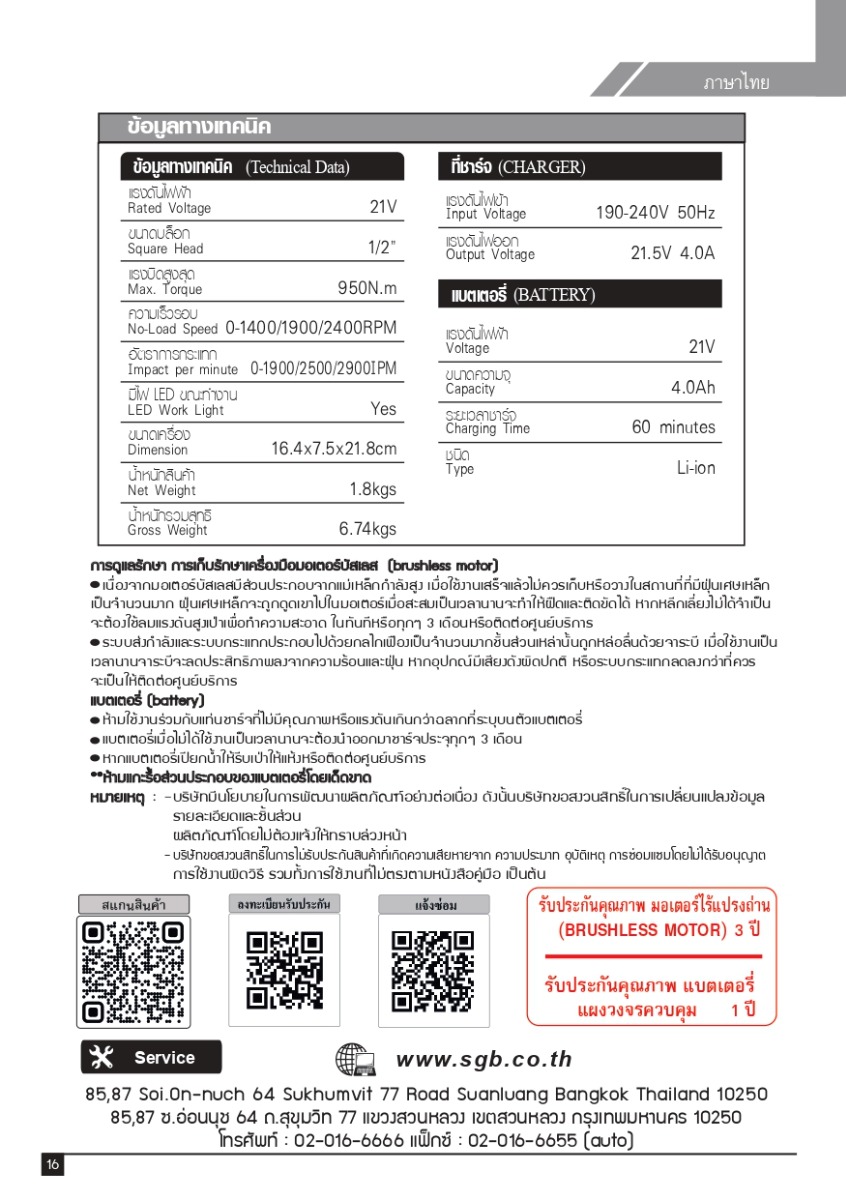
This product is designed for tightening and loosening nuts in wood, metal, and plastic under general conditions. The performance and characteristics of the product are as follows: Standard bolts size M10-M20, high-strength bolts size M8-M16, and square head screws/socket size 12.7 mm.
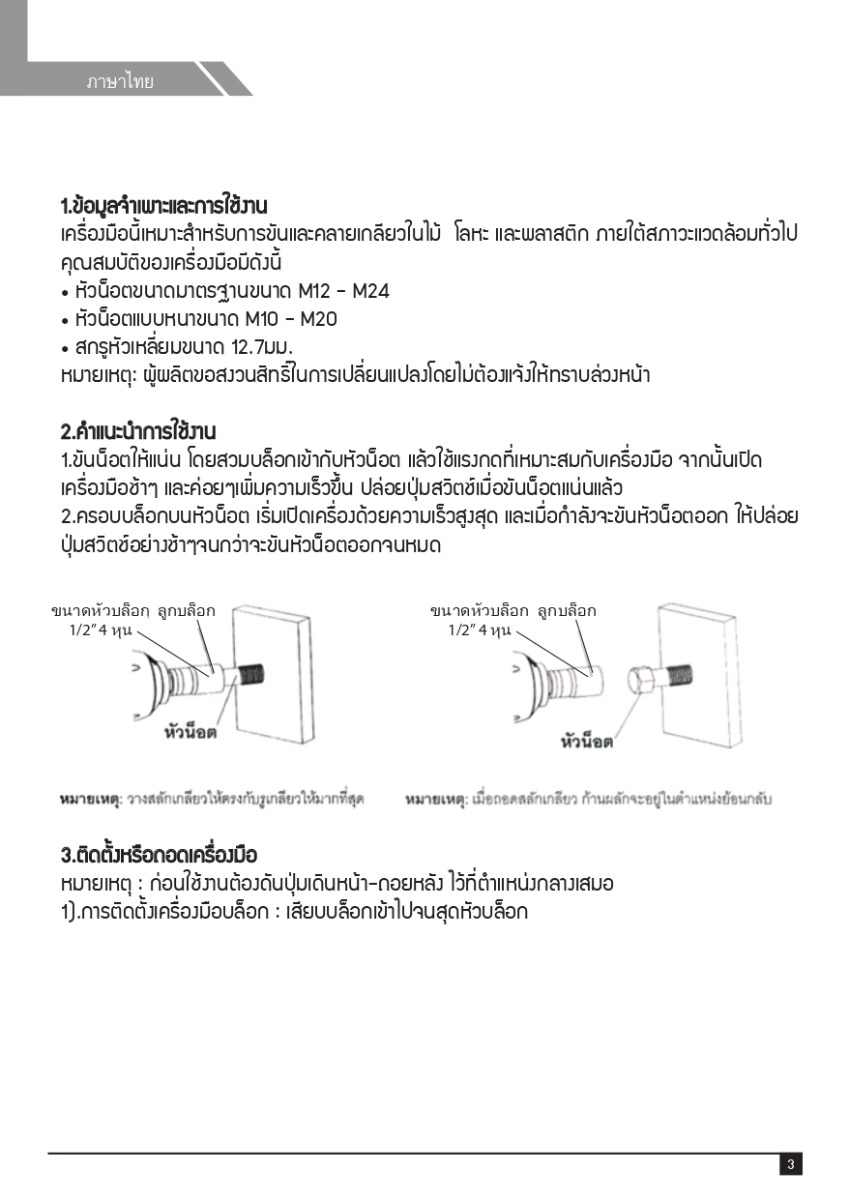
Tightening a Nut Place the block end onto the nut head. Apply appropriate pressure to the tool. Slowly press the start switch, then gradually increase the speed, and release the switch button once the nut is fully tightened.
Removing a Bolt/Screw Place the block onto the bolt head. Start the tool at maximum speed. When the bolt is about to be loosened, slowly release the switch button until the bolt is completely removed.
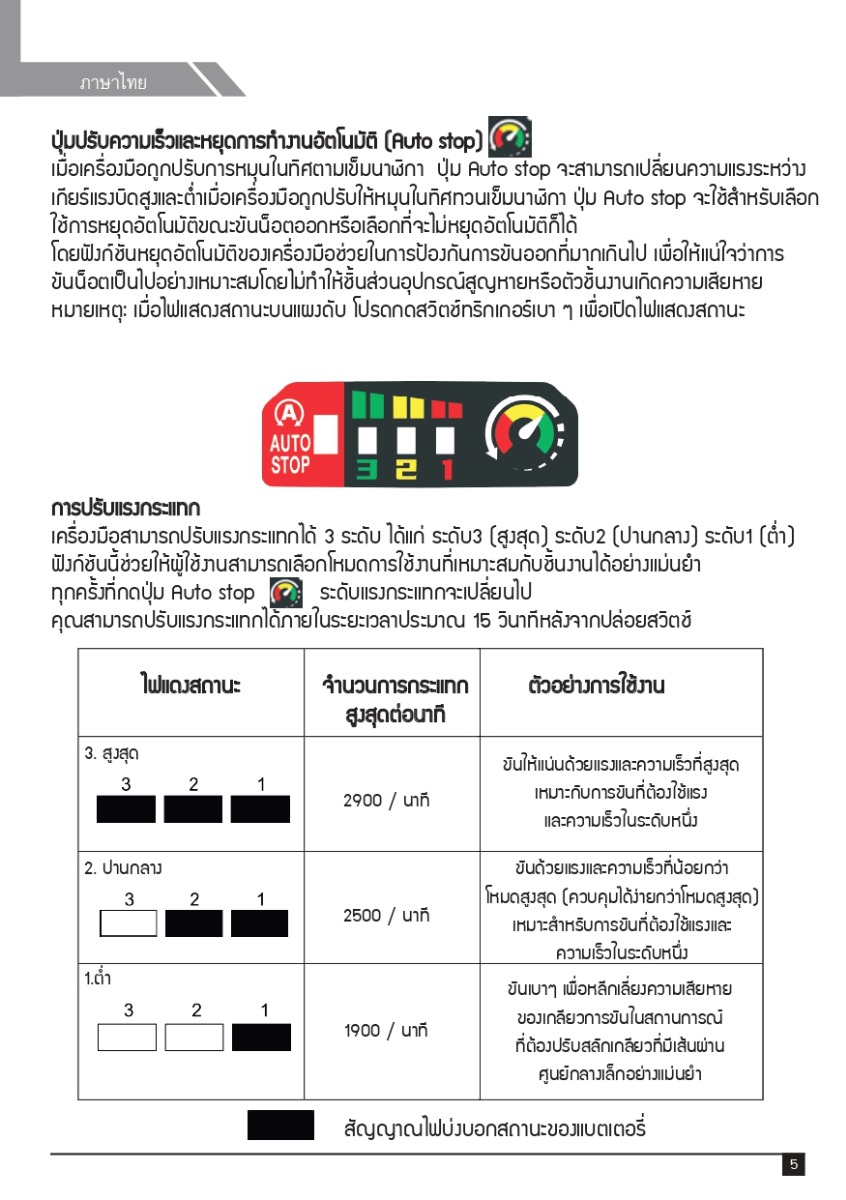
Speed Adjustment and Automatic Stop (Auto Stop) Button When rotating clockwise (Tightening): You can switch between maximum and minimum torque levels using the adjustment button. When rotating counter-clockwise (Loosening): You can choose whether to activate the Automatic Stop function (AUTO STOP) or not. When the Automatic Stop switch is pressed: If the tool detects that the screw/nut has been securely tightened, the system will automatically stop working using the tool's Automatic Stop function to help prevent excessive tightening. When the indicator light on the panel turns off, gently press the trigger switch to turn the indicator light back on.
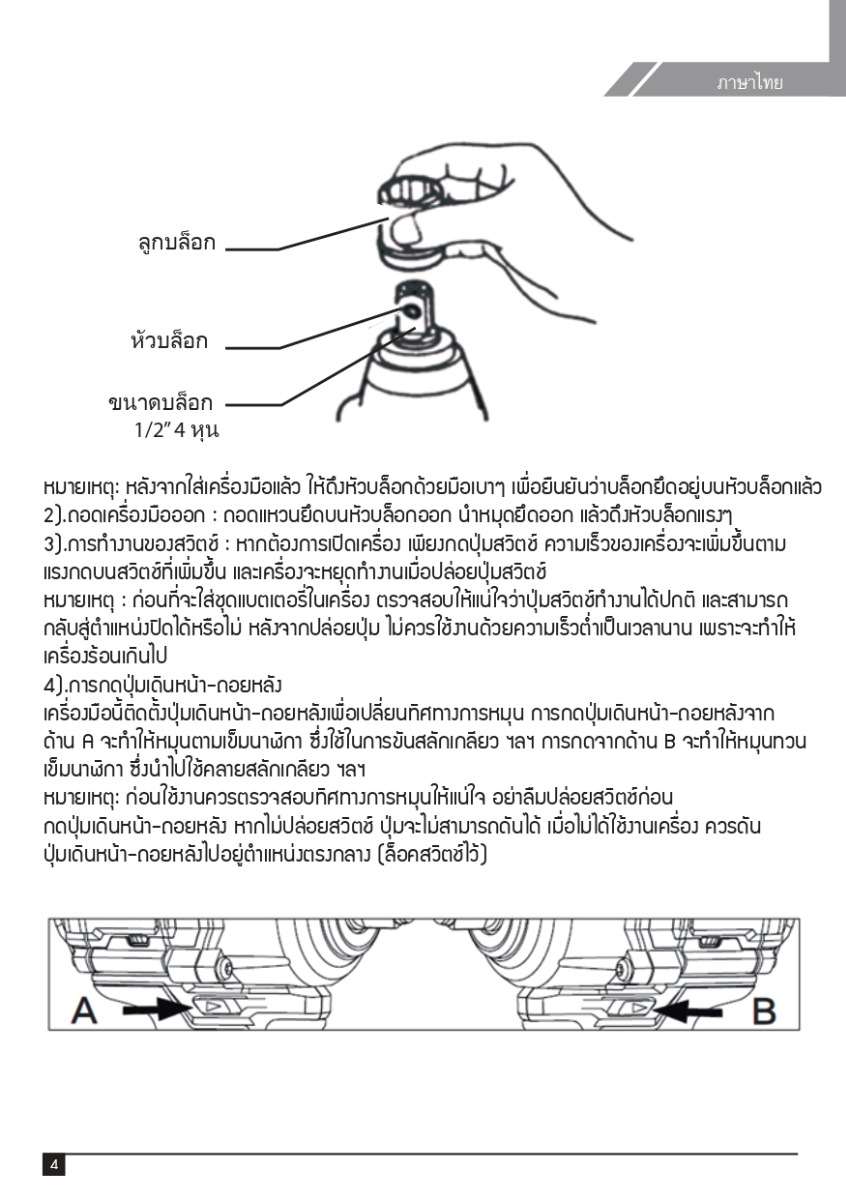
After inserting the tool, please gently pull the block by hand to confirm that it is securely fastened to the wrench head.
The term operating mode here refers to the preset modes in the tool that correspond to different rotational speeds and impact forces. Selecting the appropriate operating mode based on the work situation can speed up the task or improve the quality of the work.
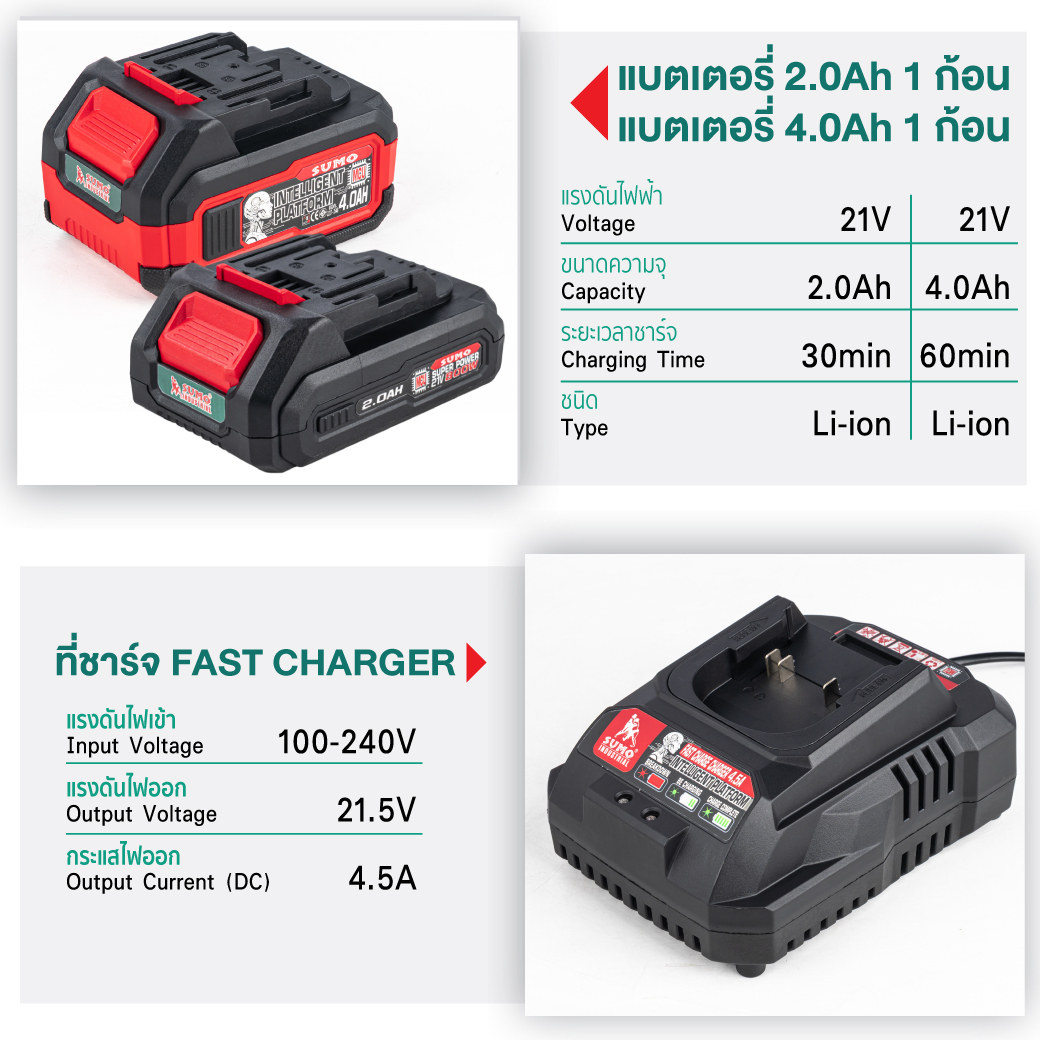
If you are going to use a spare battery to continue working, allow the tool to rest for at least 15 minutes before starting the operation again.
Always make sure the tool is turned OFF and the battery cartridge is removed before adjusting or checking the tool's functions.
Always check the direction of rotation before operating the tool.
Use the reverse rotation switch only when the tool has completely stopped.
Changing the direction of rotation before the tool stops completely may damage the tool. When the tool is not in use, the rotation direction lever should always be set to the neutral (center) position. The trigger switch cannot be pressed, and the tool will not operate if the direction lever is in the center position.
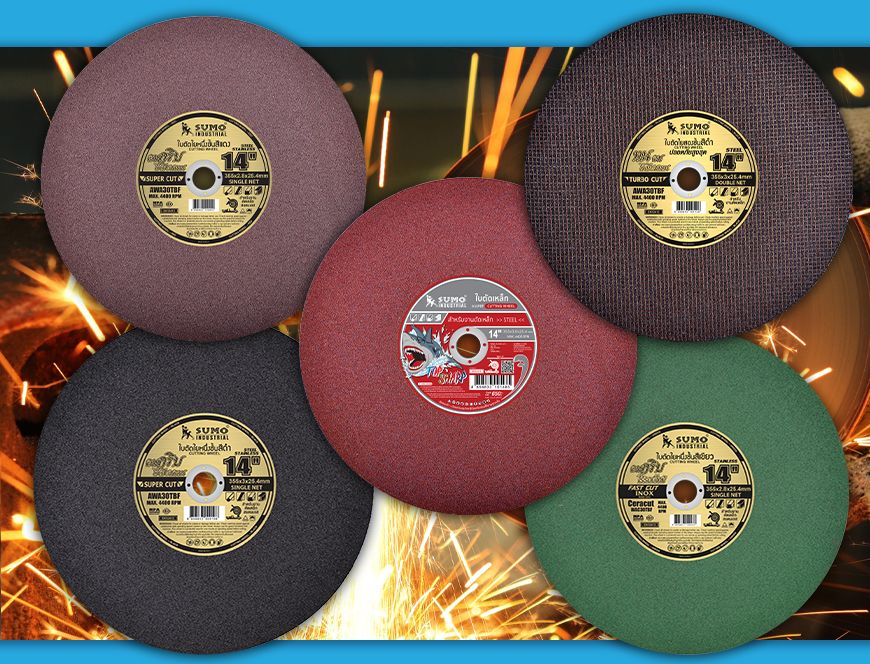
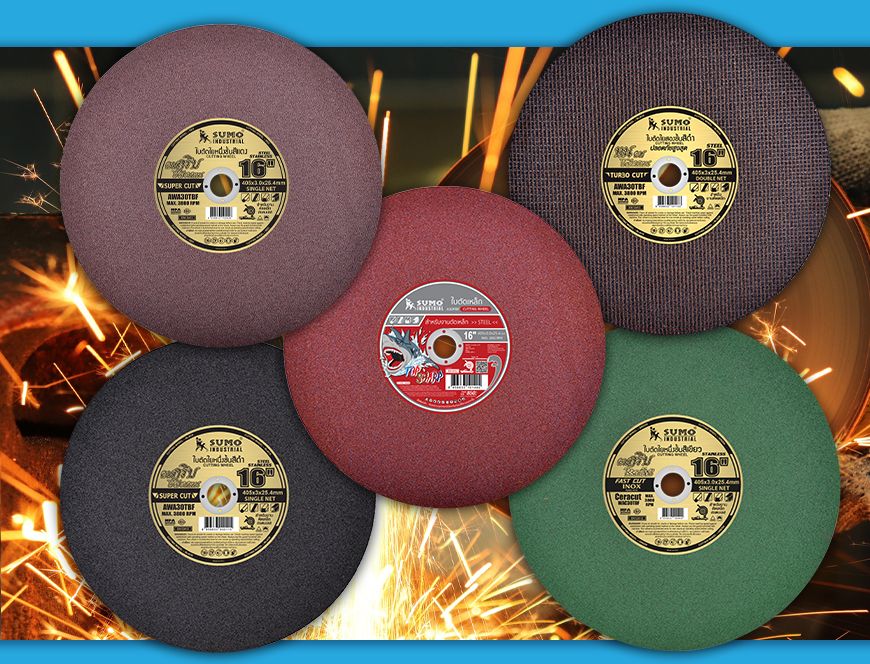
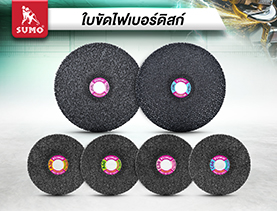
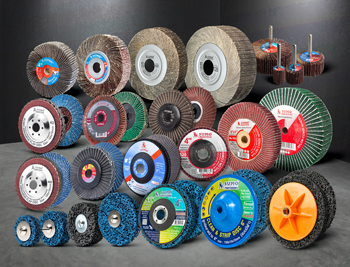
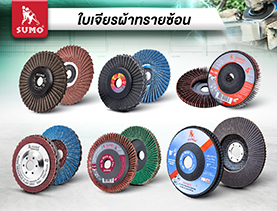
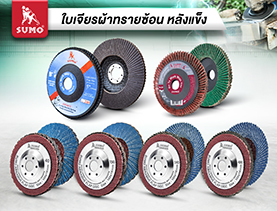
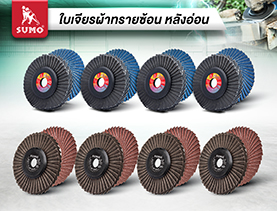
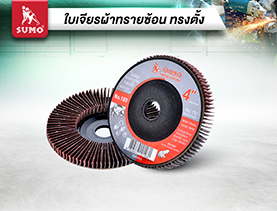
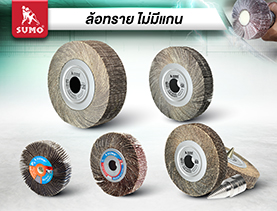
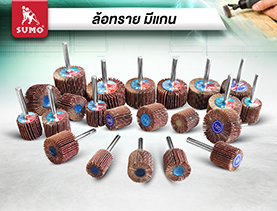
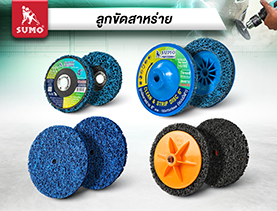
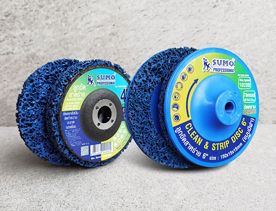
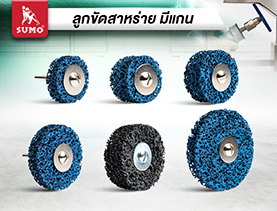
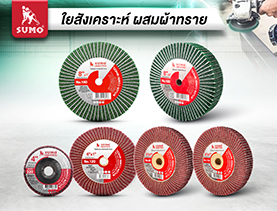
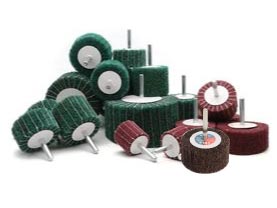
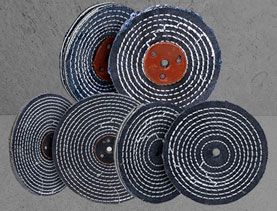
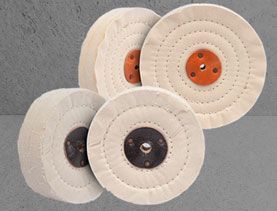
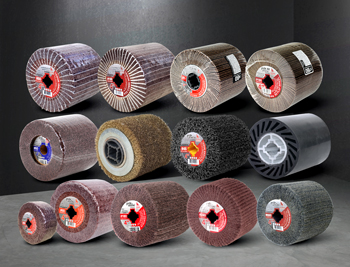
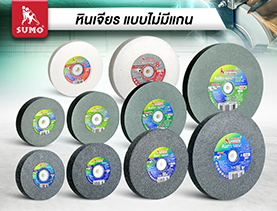
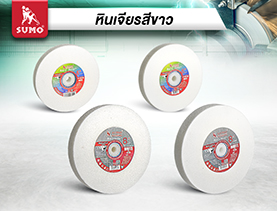
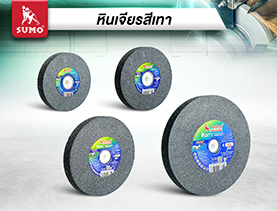
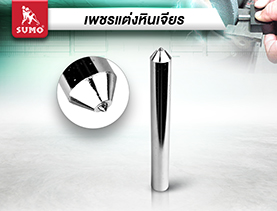
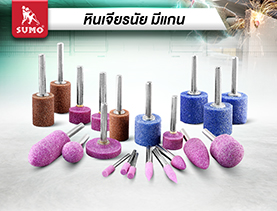
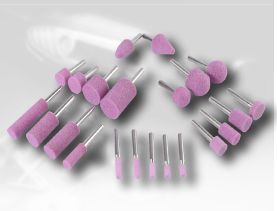
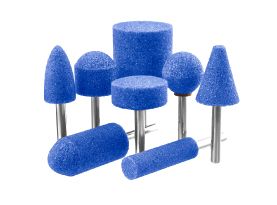
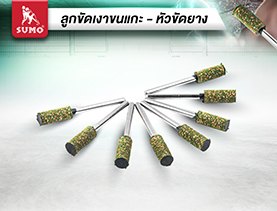
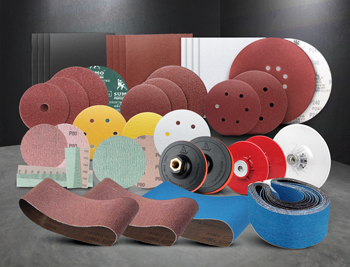
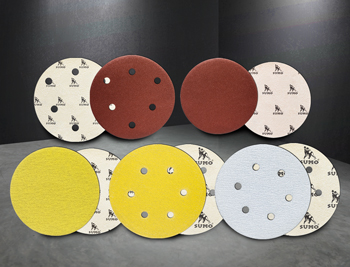
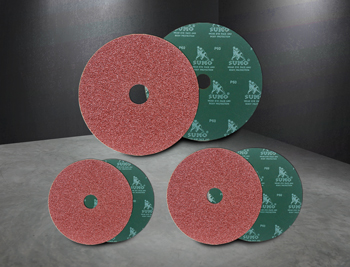
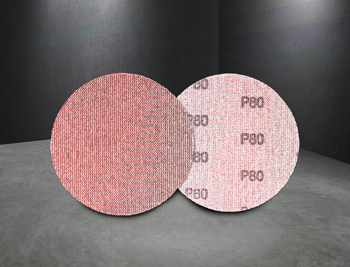
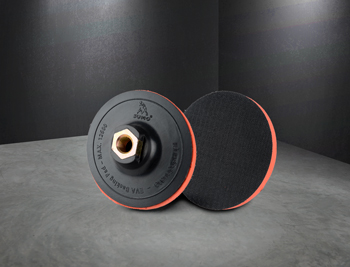
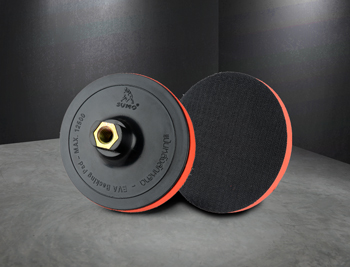
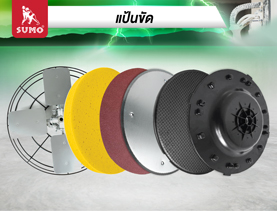
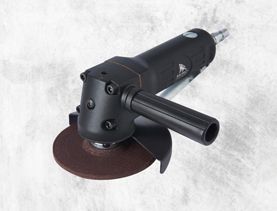
 1.เจียร ตัด ขัด ถู
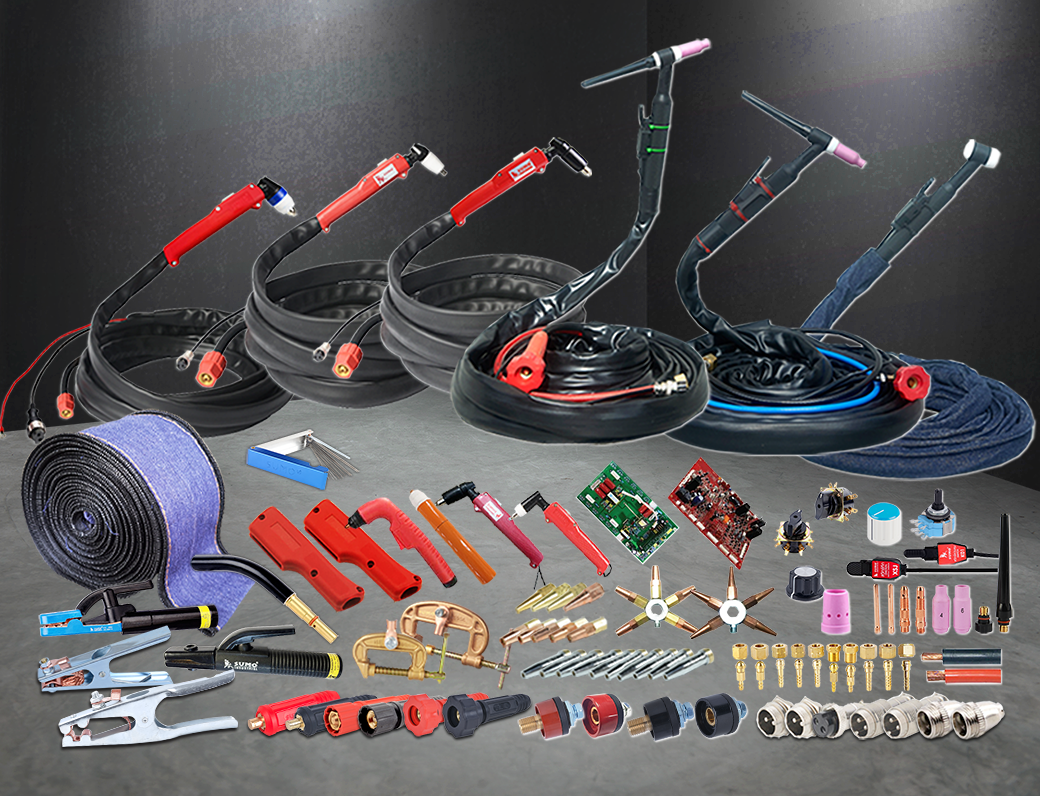
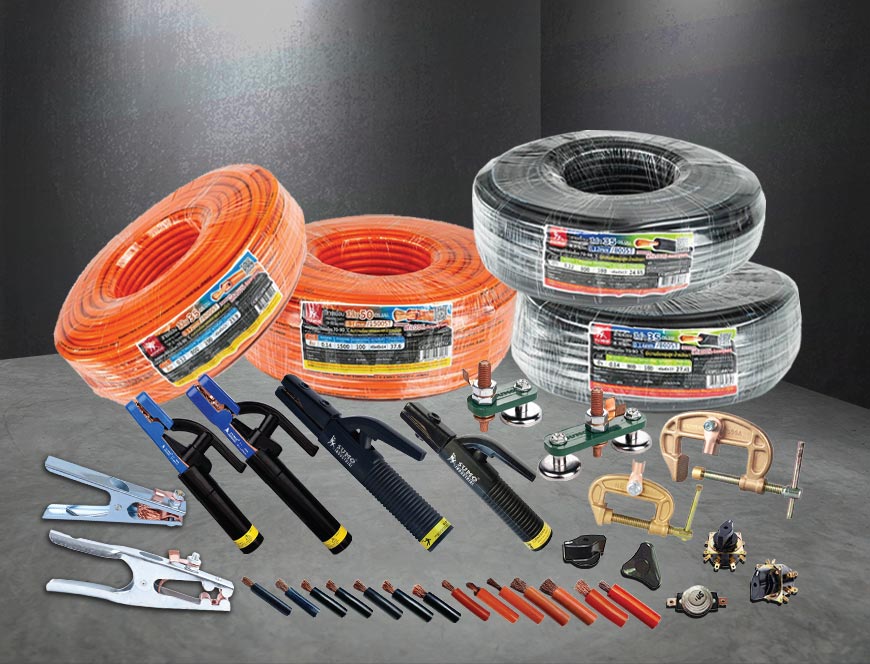
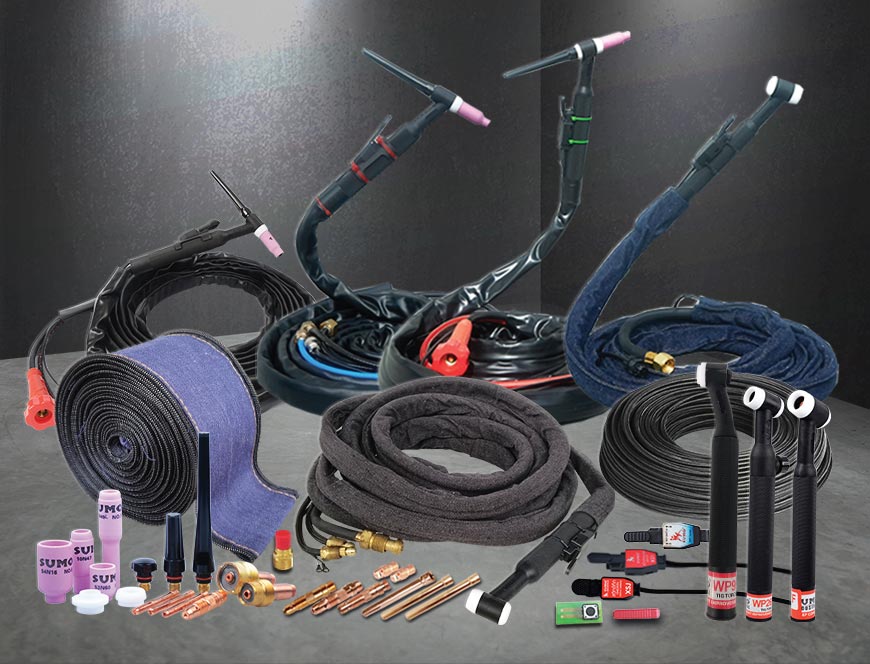
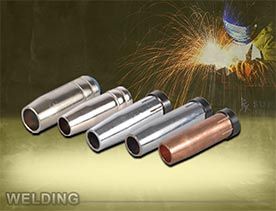
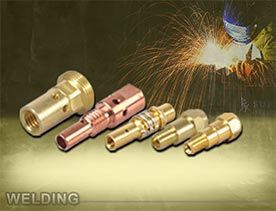
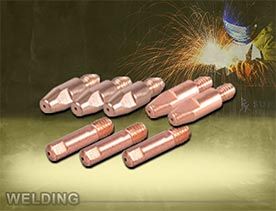
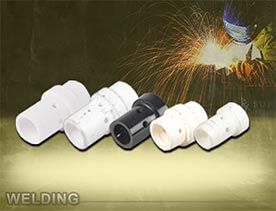
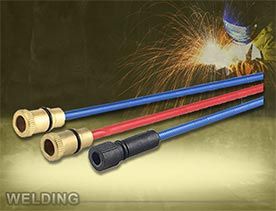
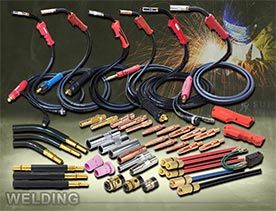
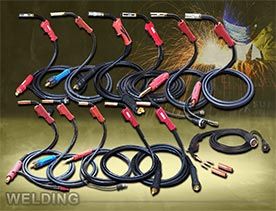
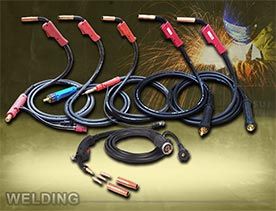
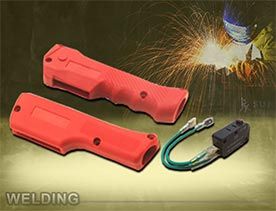
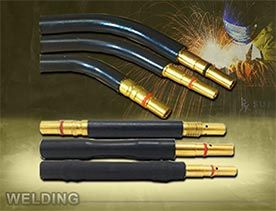
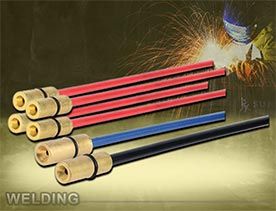
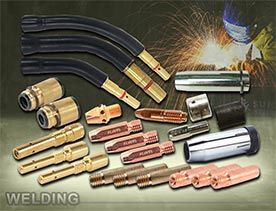
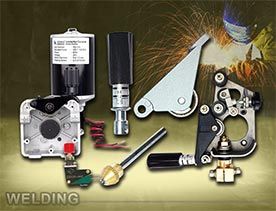
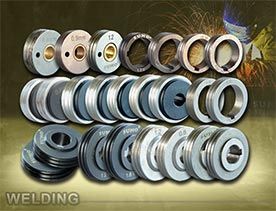
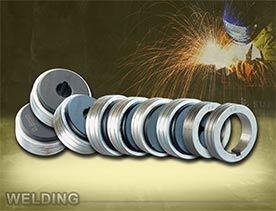
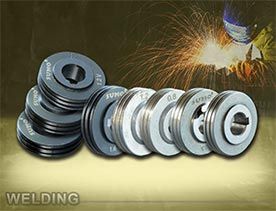
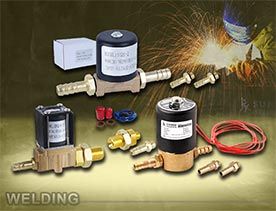
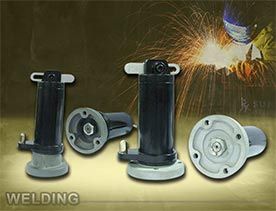
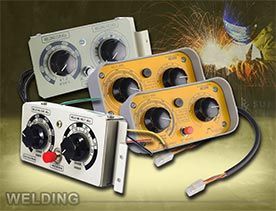
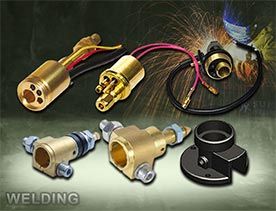
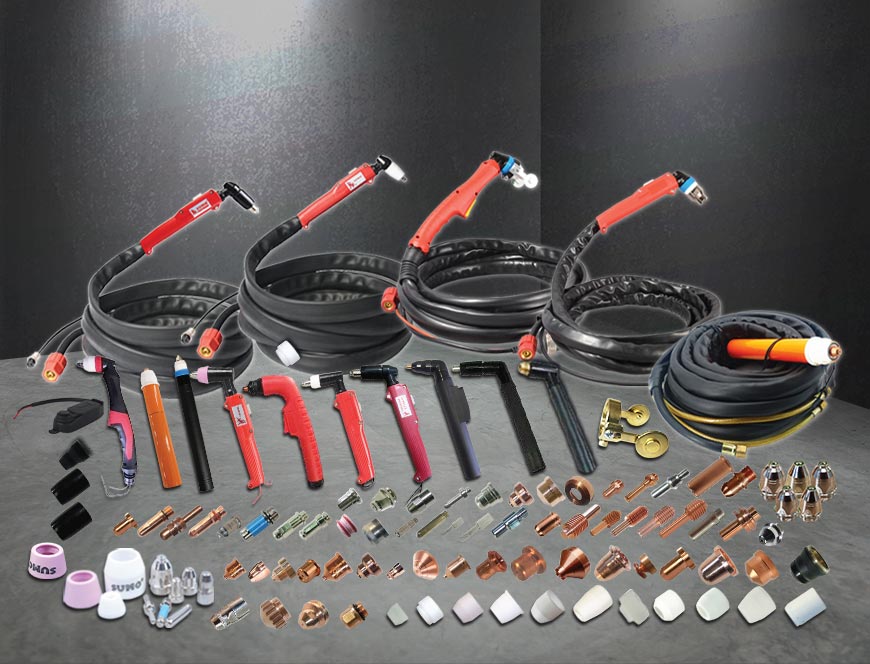
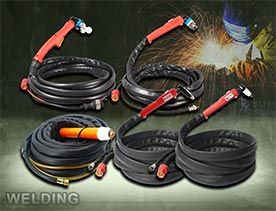
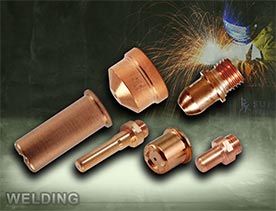
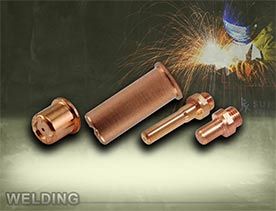
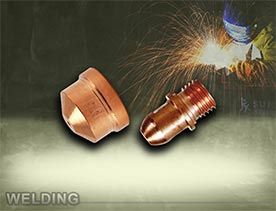
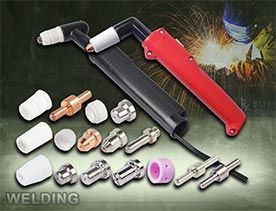
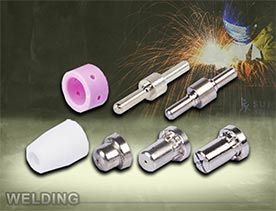
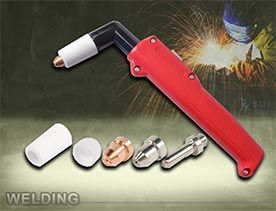
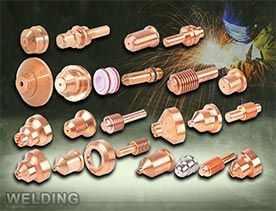
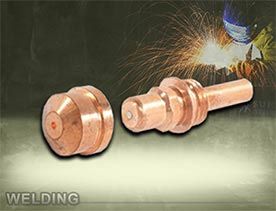
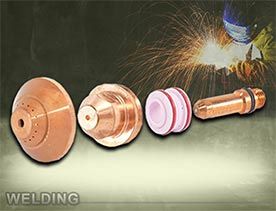
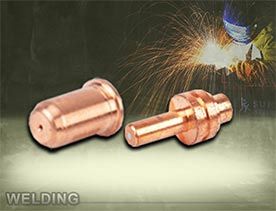
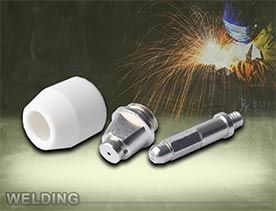
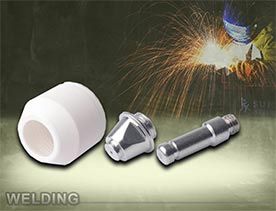
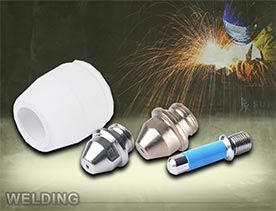
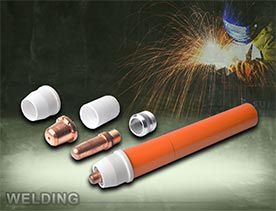
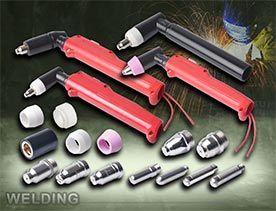
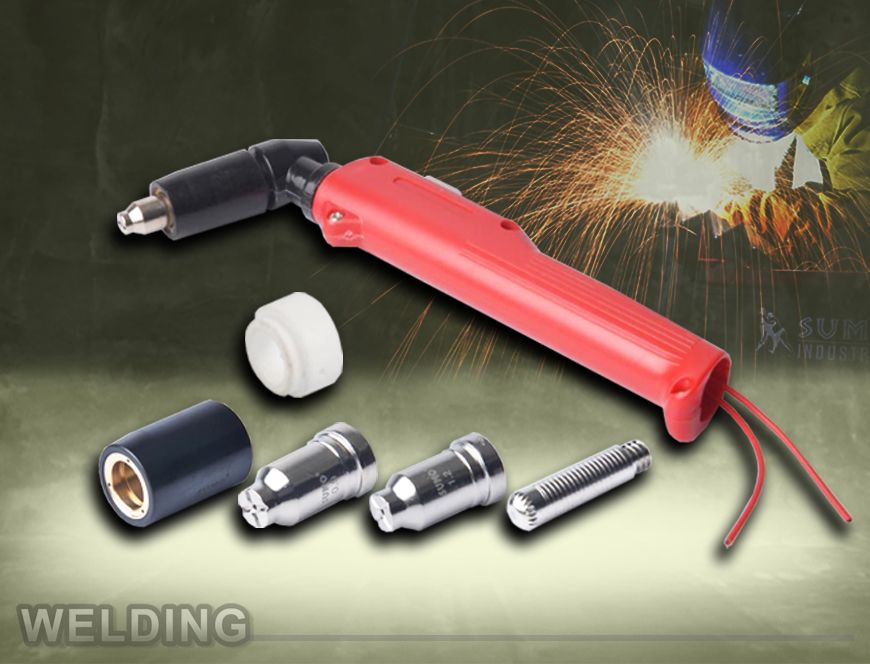
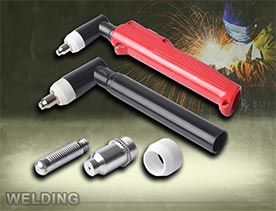
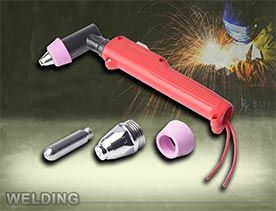
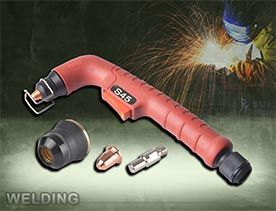
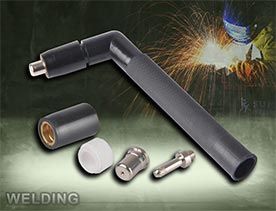
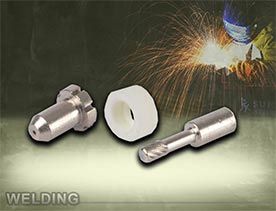
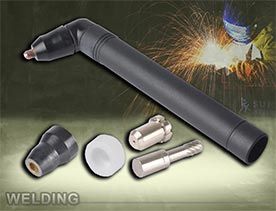
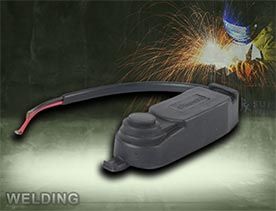
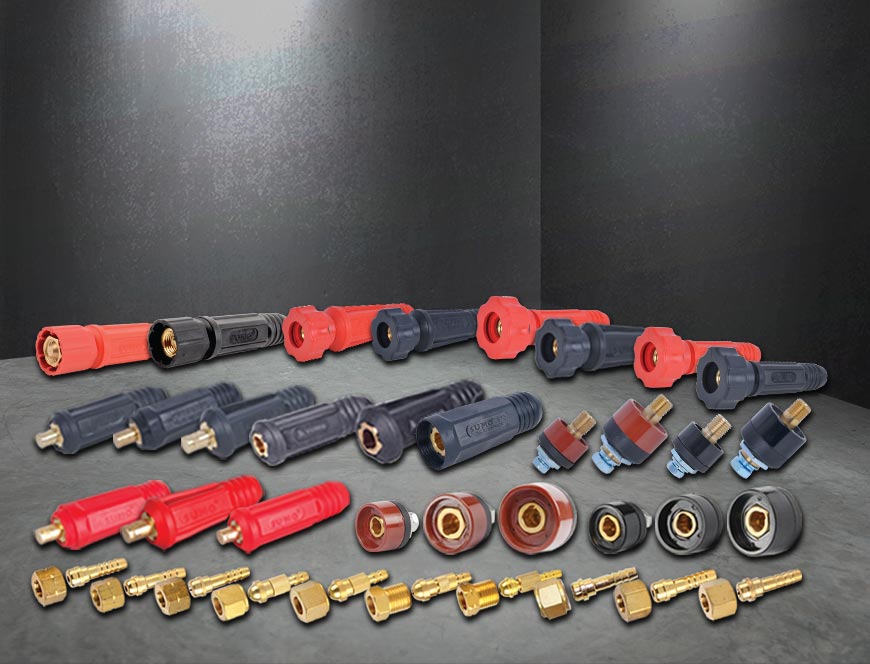
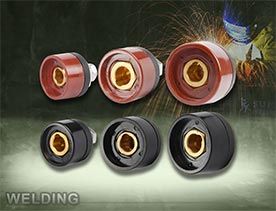
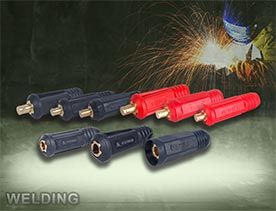
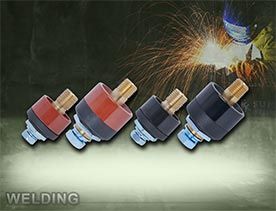
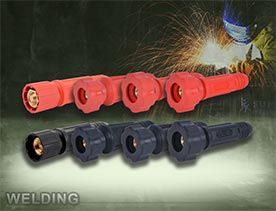
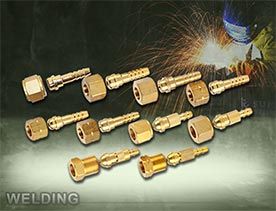
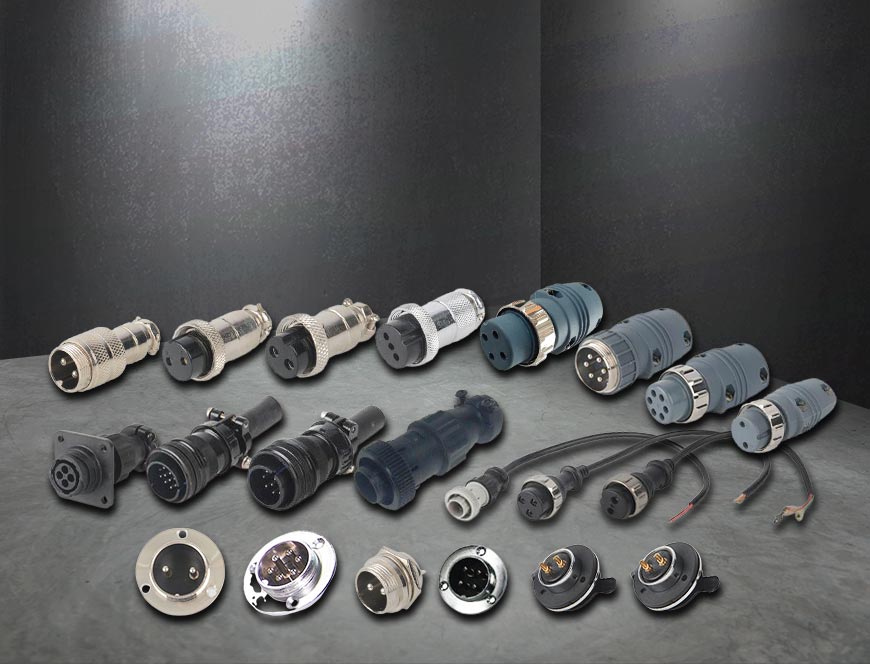
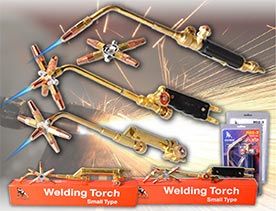
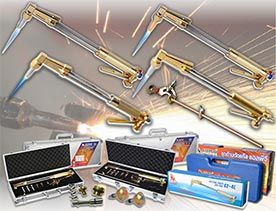
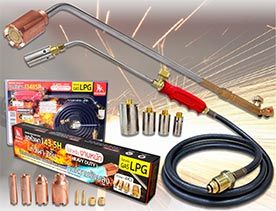
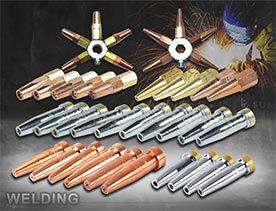
 2.งานเชื่อม ตัดพลาสม่า
  3.อุปกรณ์เพื่อความปลอดภัย
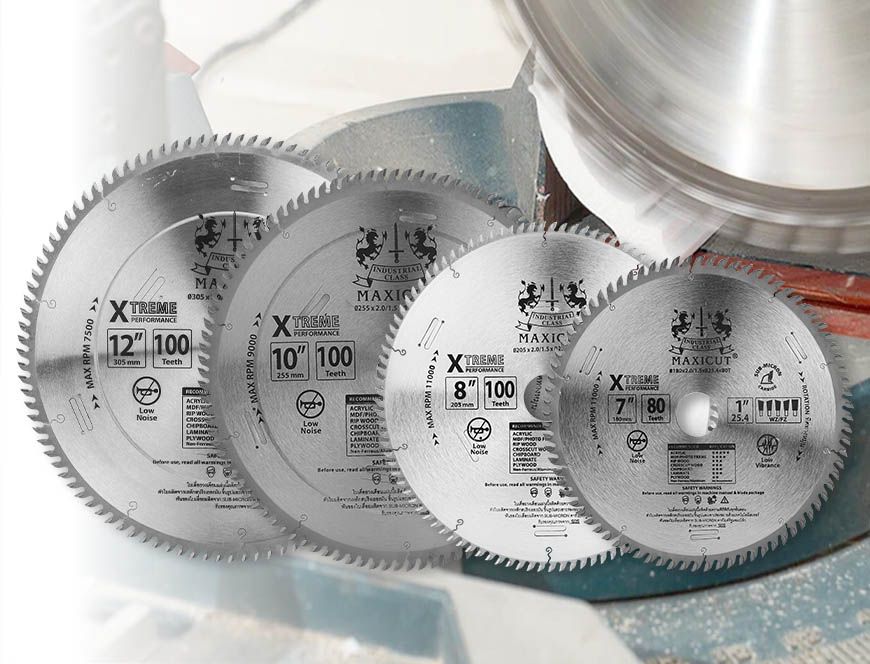
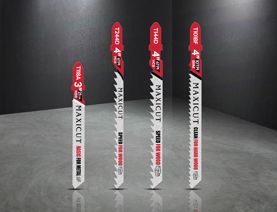
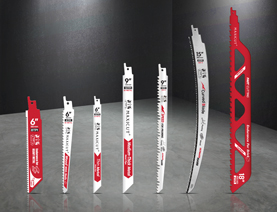
  4.เจาะ เซาะ กัด เลื่อย
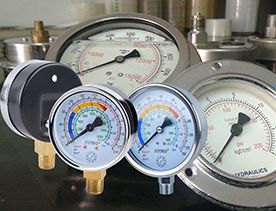
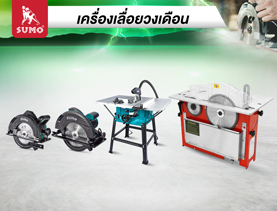
  5.เครื่องมือวัด
  6.อุปกรณ์ไฟฟ้า
  7.อุปกรณ์ลม
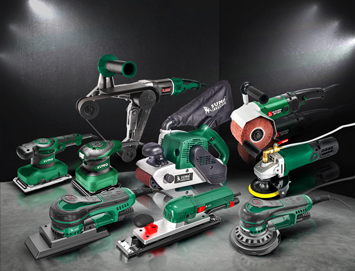
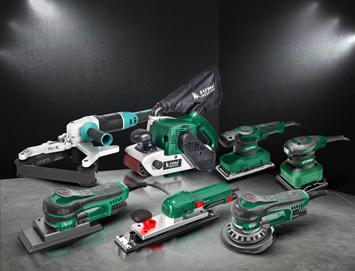
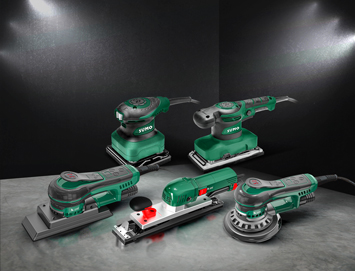
  8.เครื่องมือไฟฟ้า
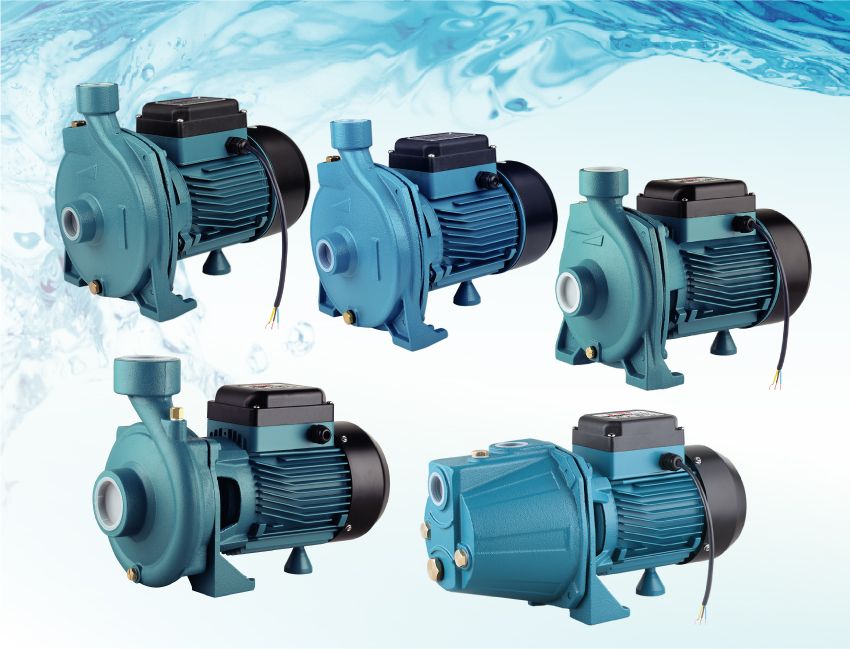
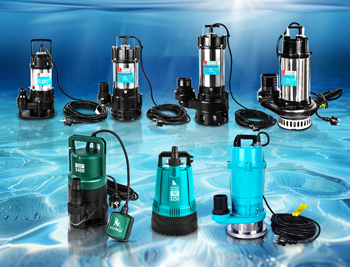
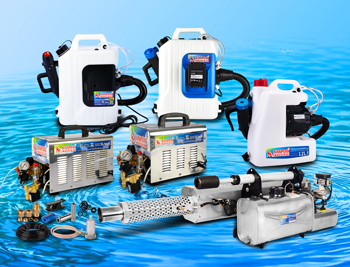
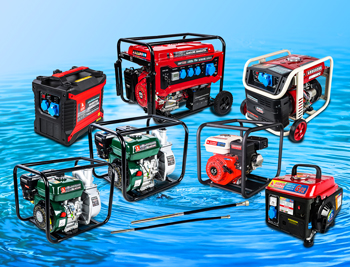
  9.ปั๊มน้ำ เครื่องอัดฉีด
  10.อุปกรณ์ดูแลรถยนต์
  11.เคมีภัณฑ์
  12.เครื่องมือ
  13.เครื่องจักร