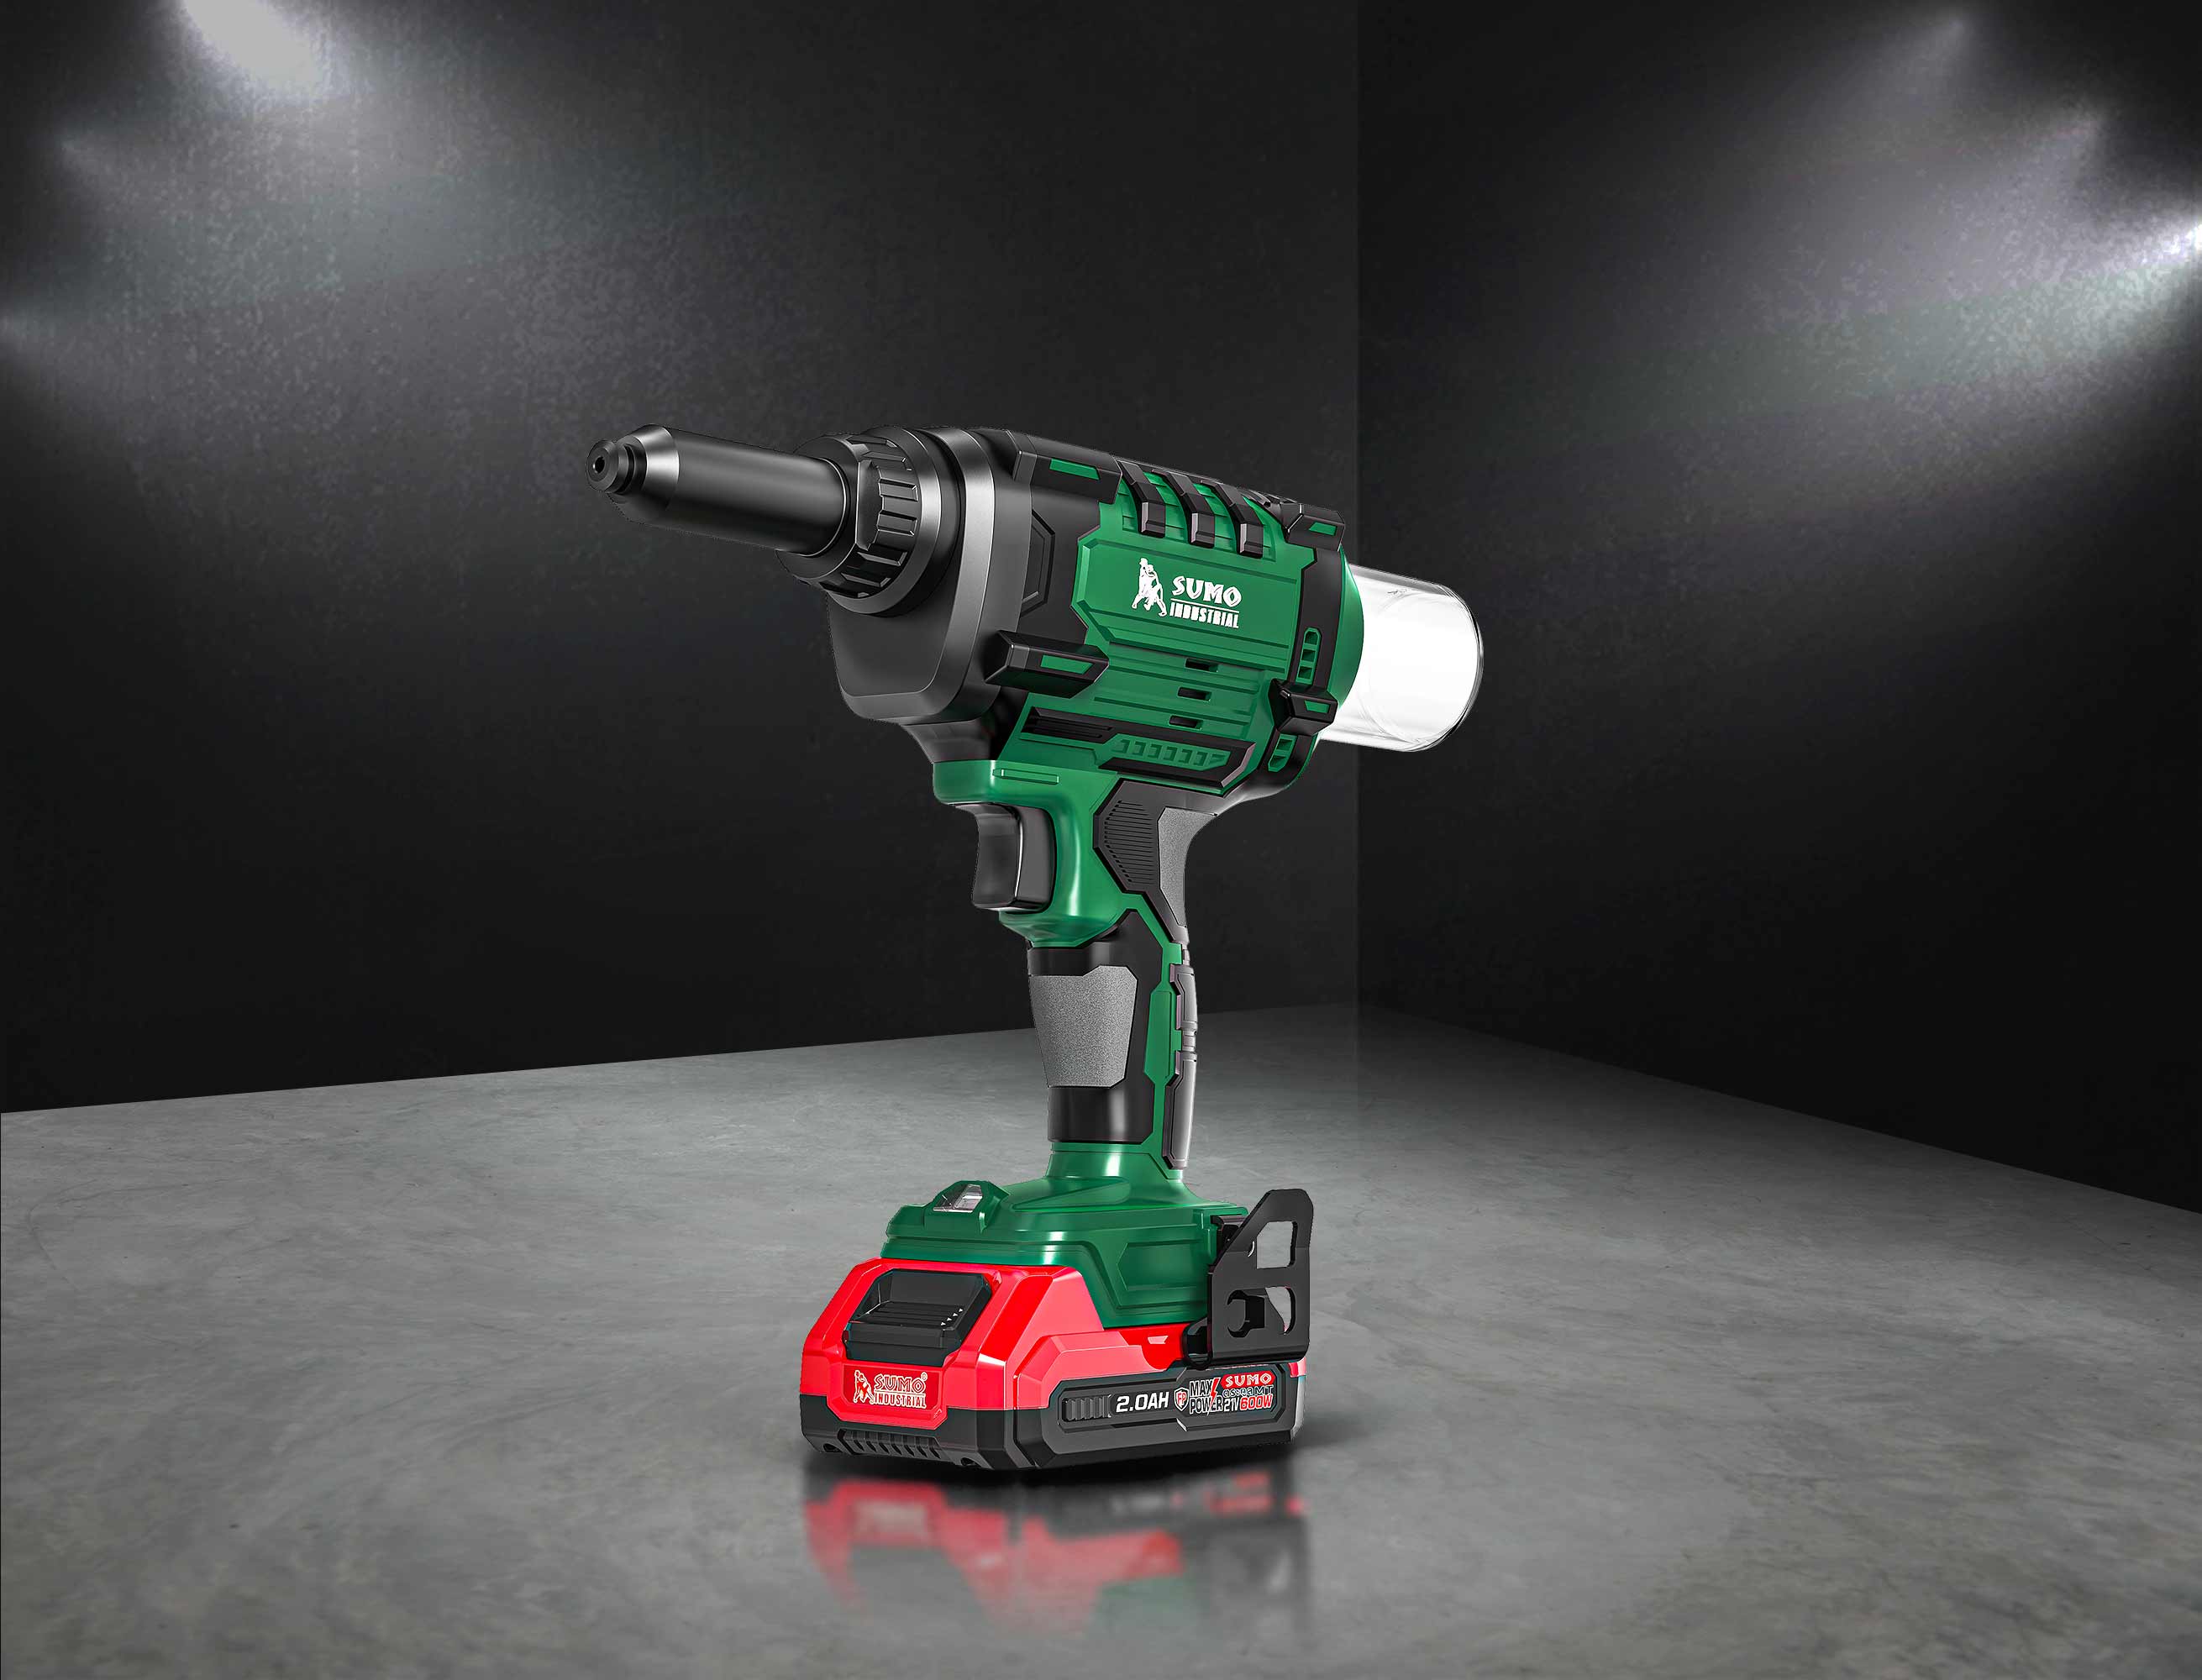
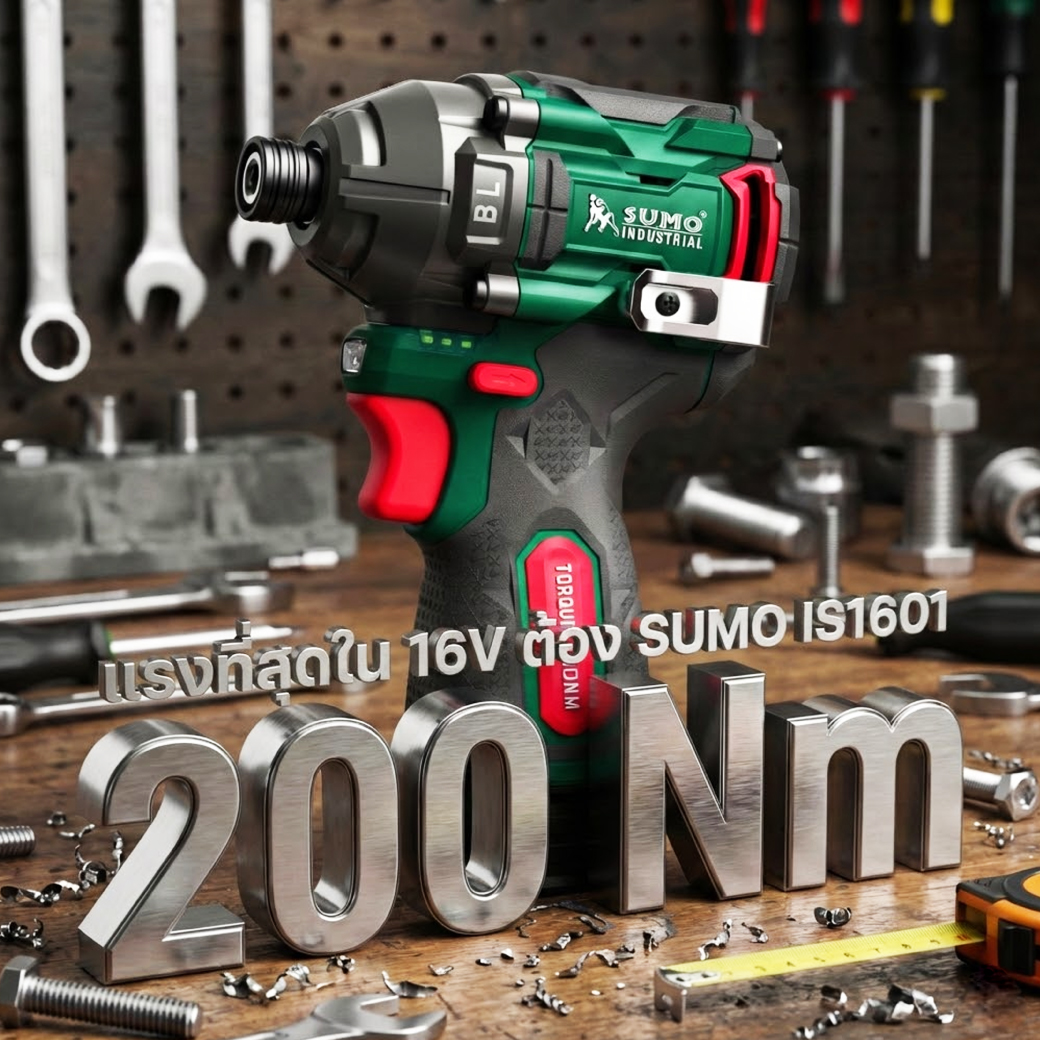
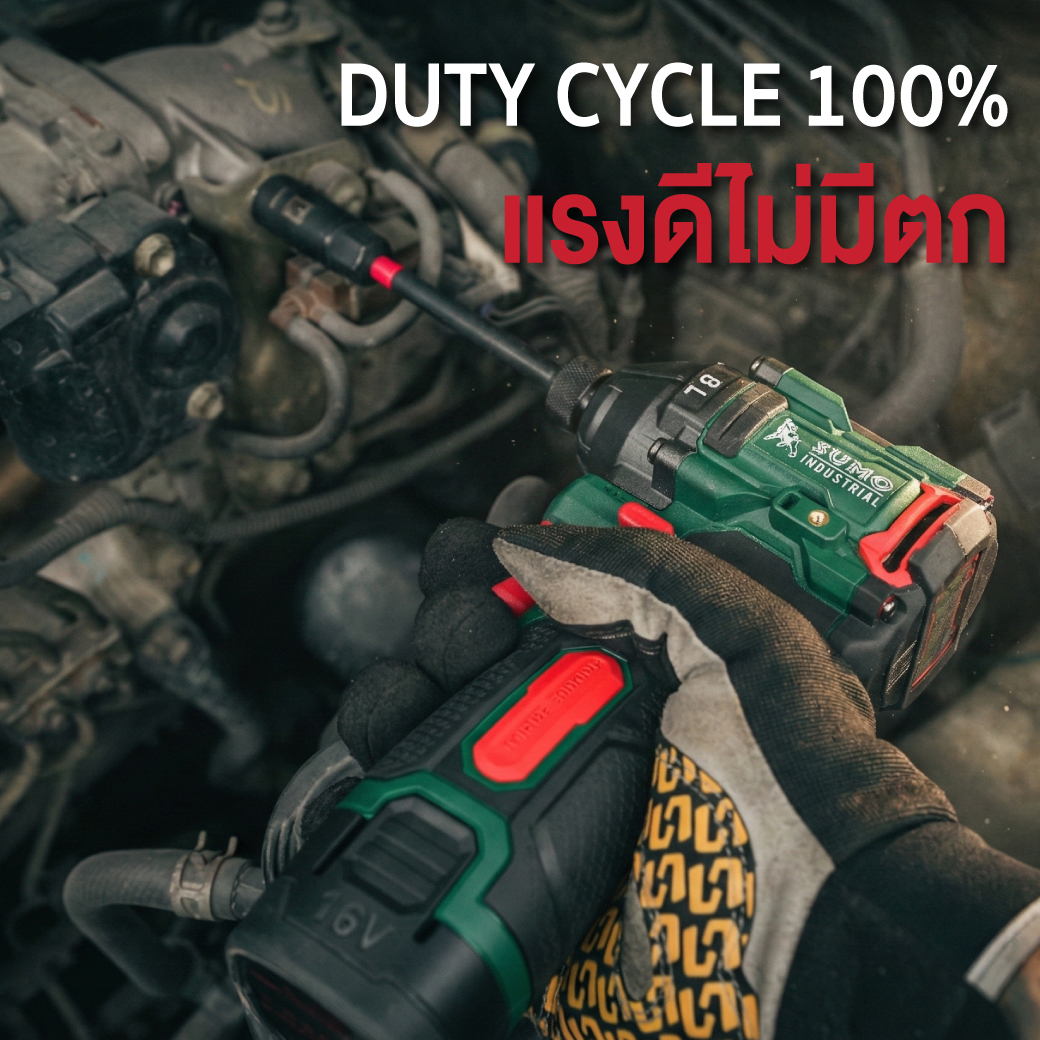
Ideal for fastening nuts and screws that require high torque, such as woodworking, light metal, and heavy metal tasks, as well as loosening stuck or rusted bolts. It also features Pulse Mode, which helps control torque and reduce kickback, making it perfect for assembling furniture or various DIY projects. Suitable for both DIY enthusiasts and professional craftsmen.
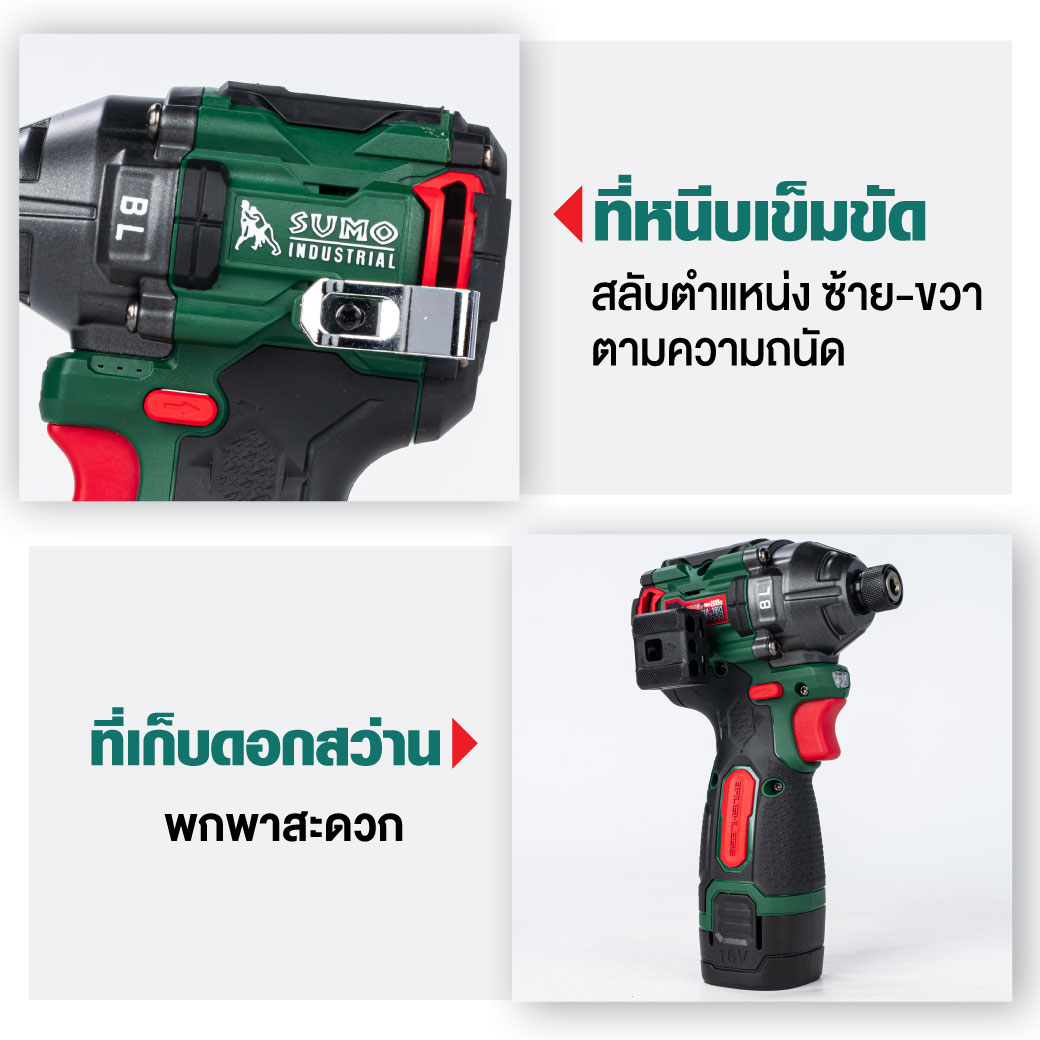
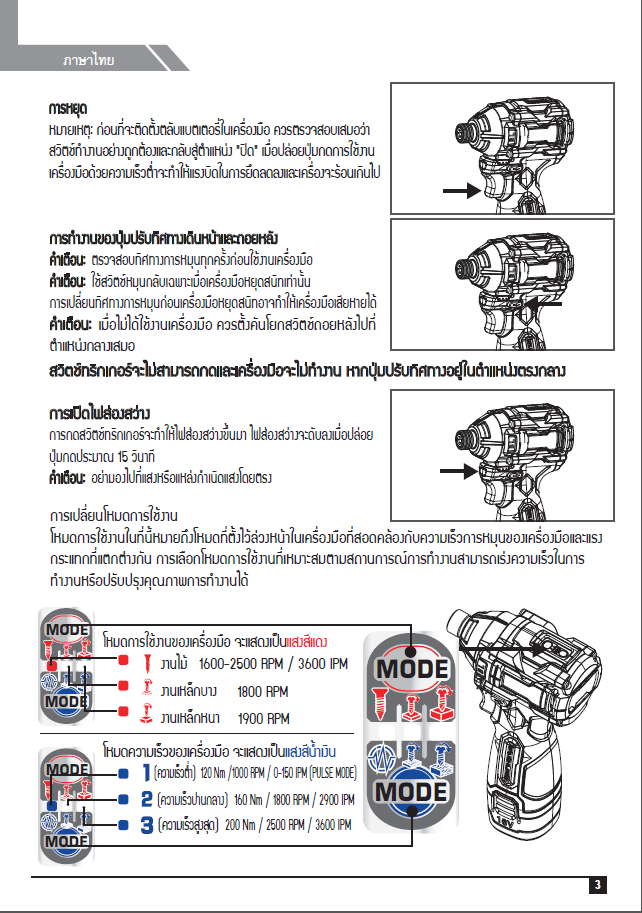
To install the screwdriver bit, insert it fully into the chuck. To remove the bit, pull the chuck sleeve forward and then take out the bit.
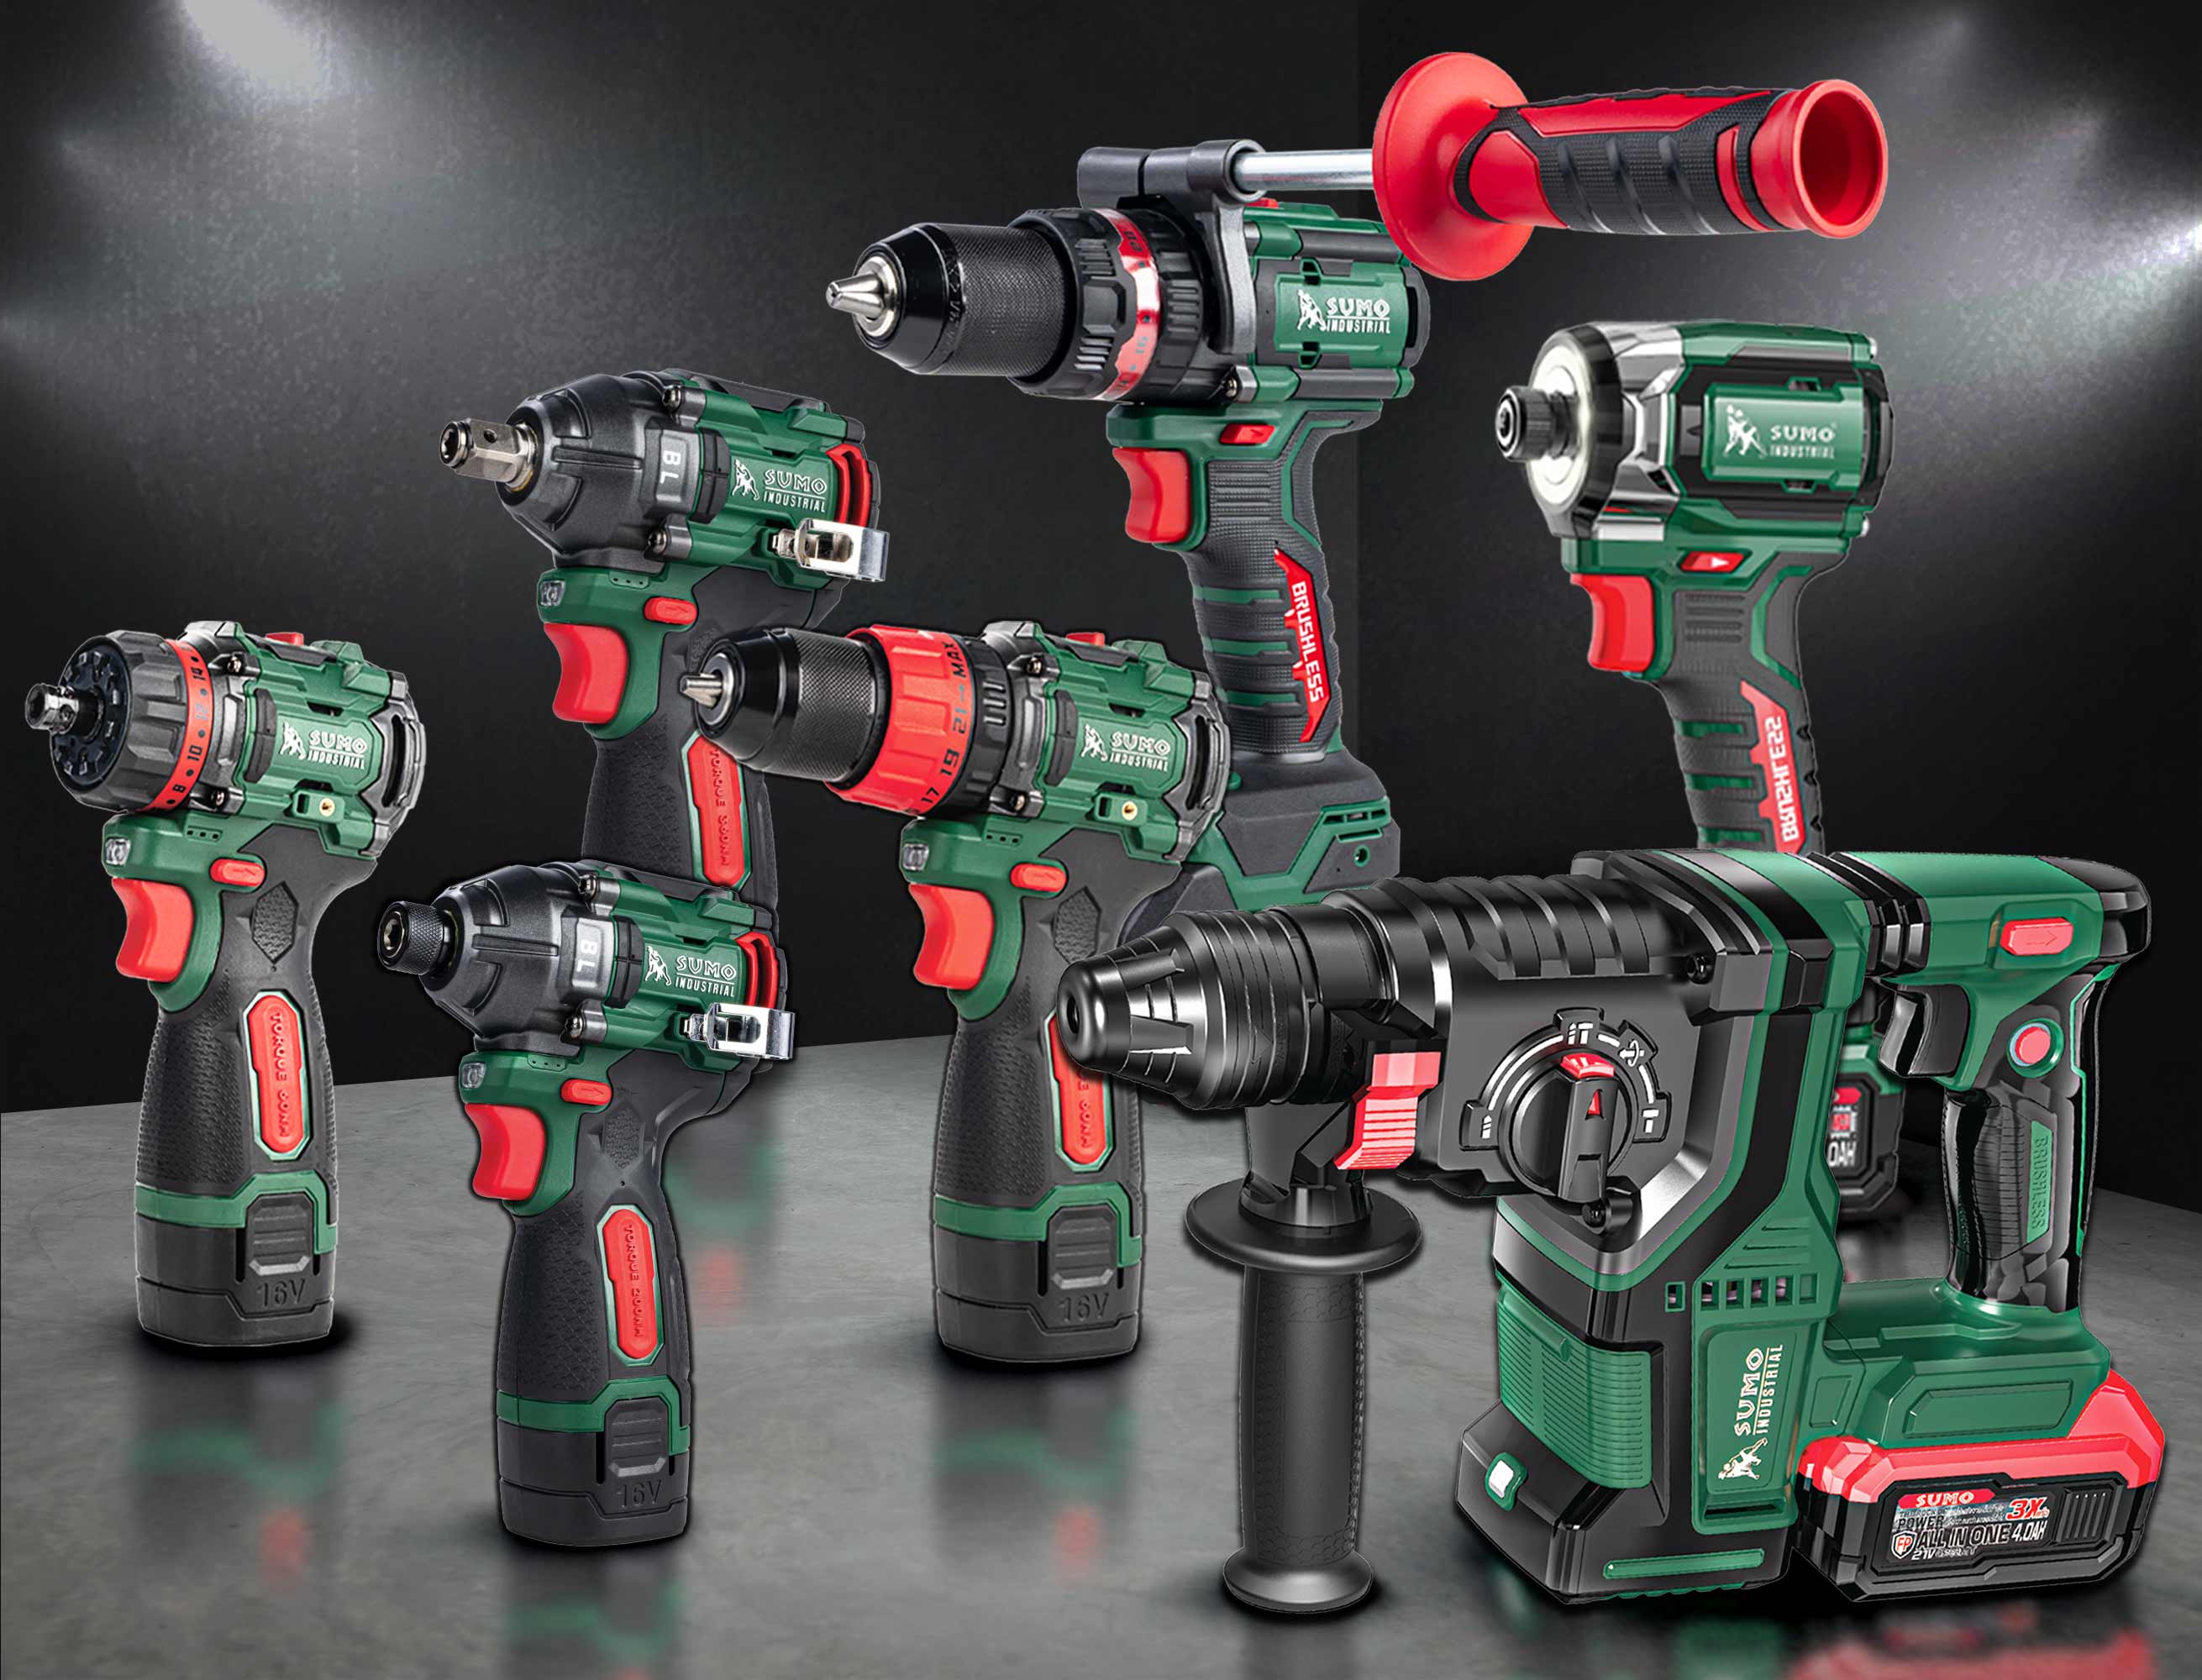
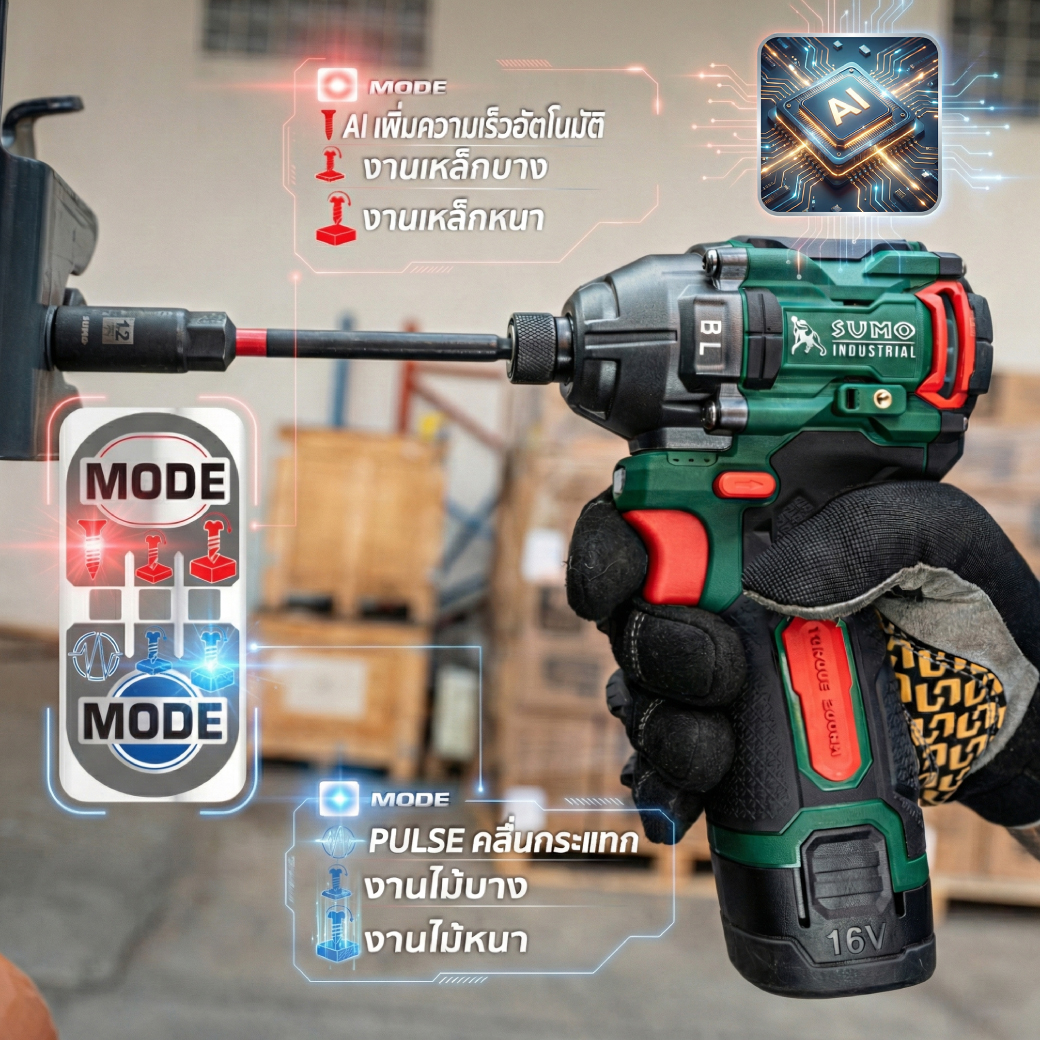
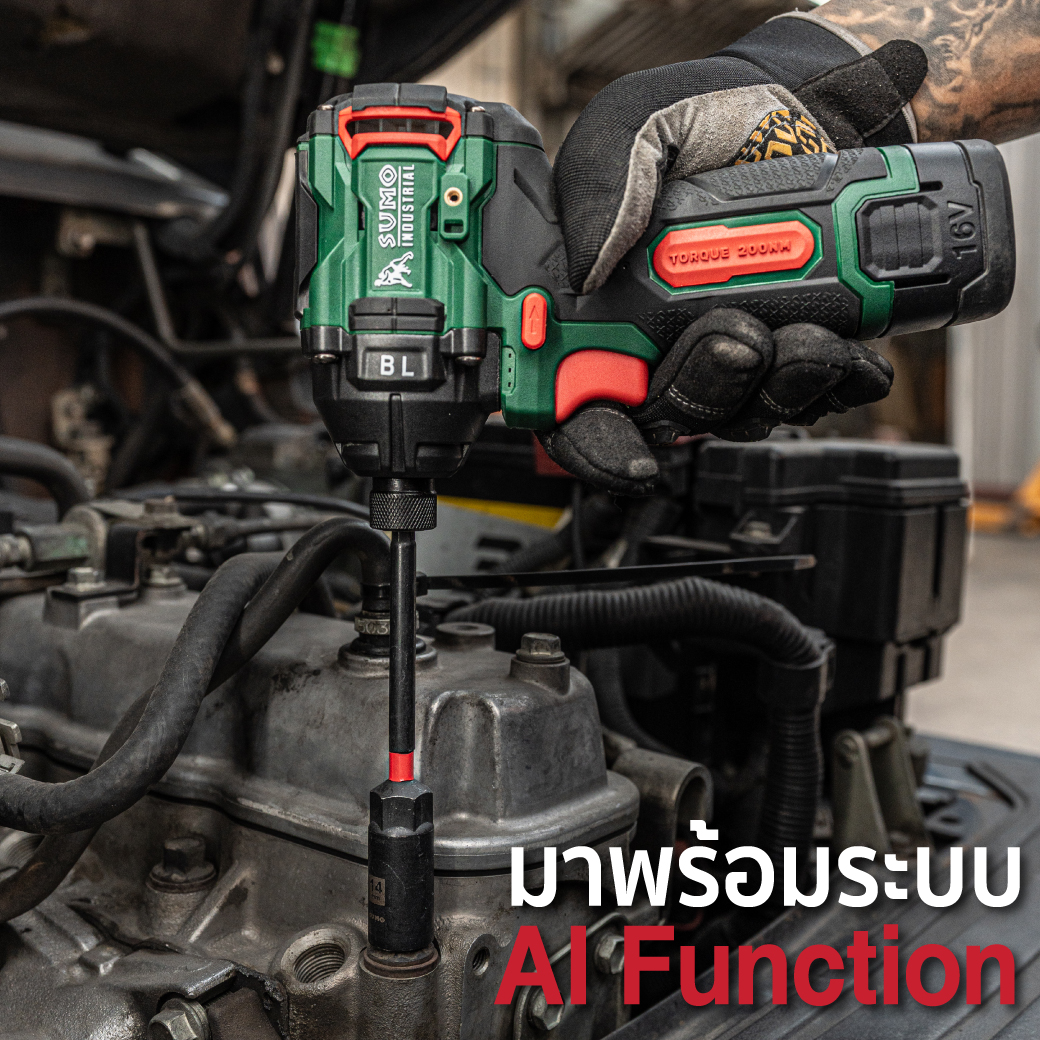
The cordless impact driver is equipped with additional functions and multiple operating modes, allowing the user to drive screws with ease.
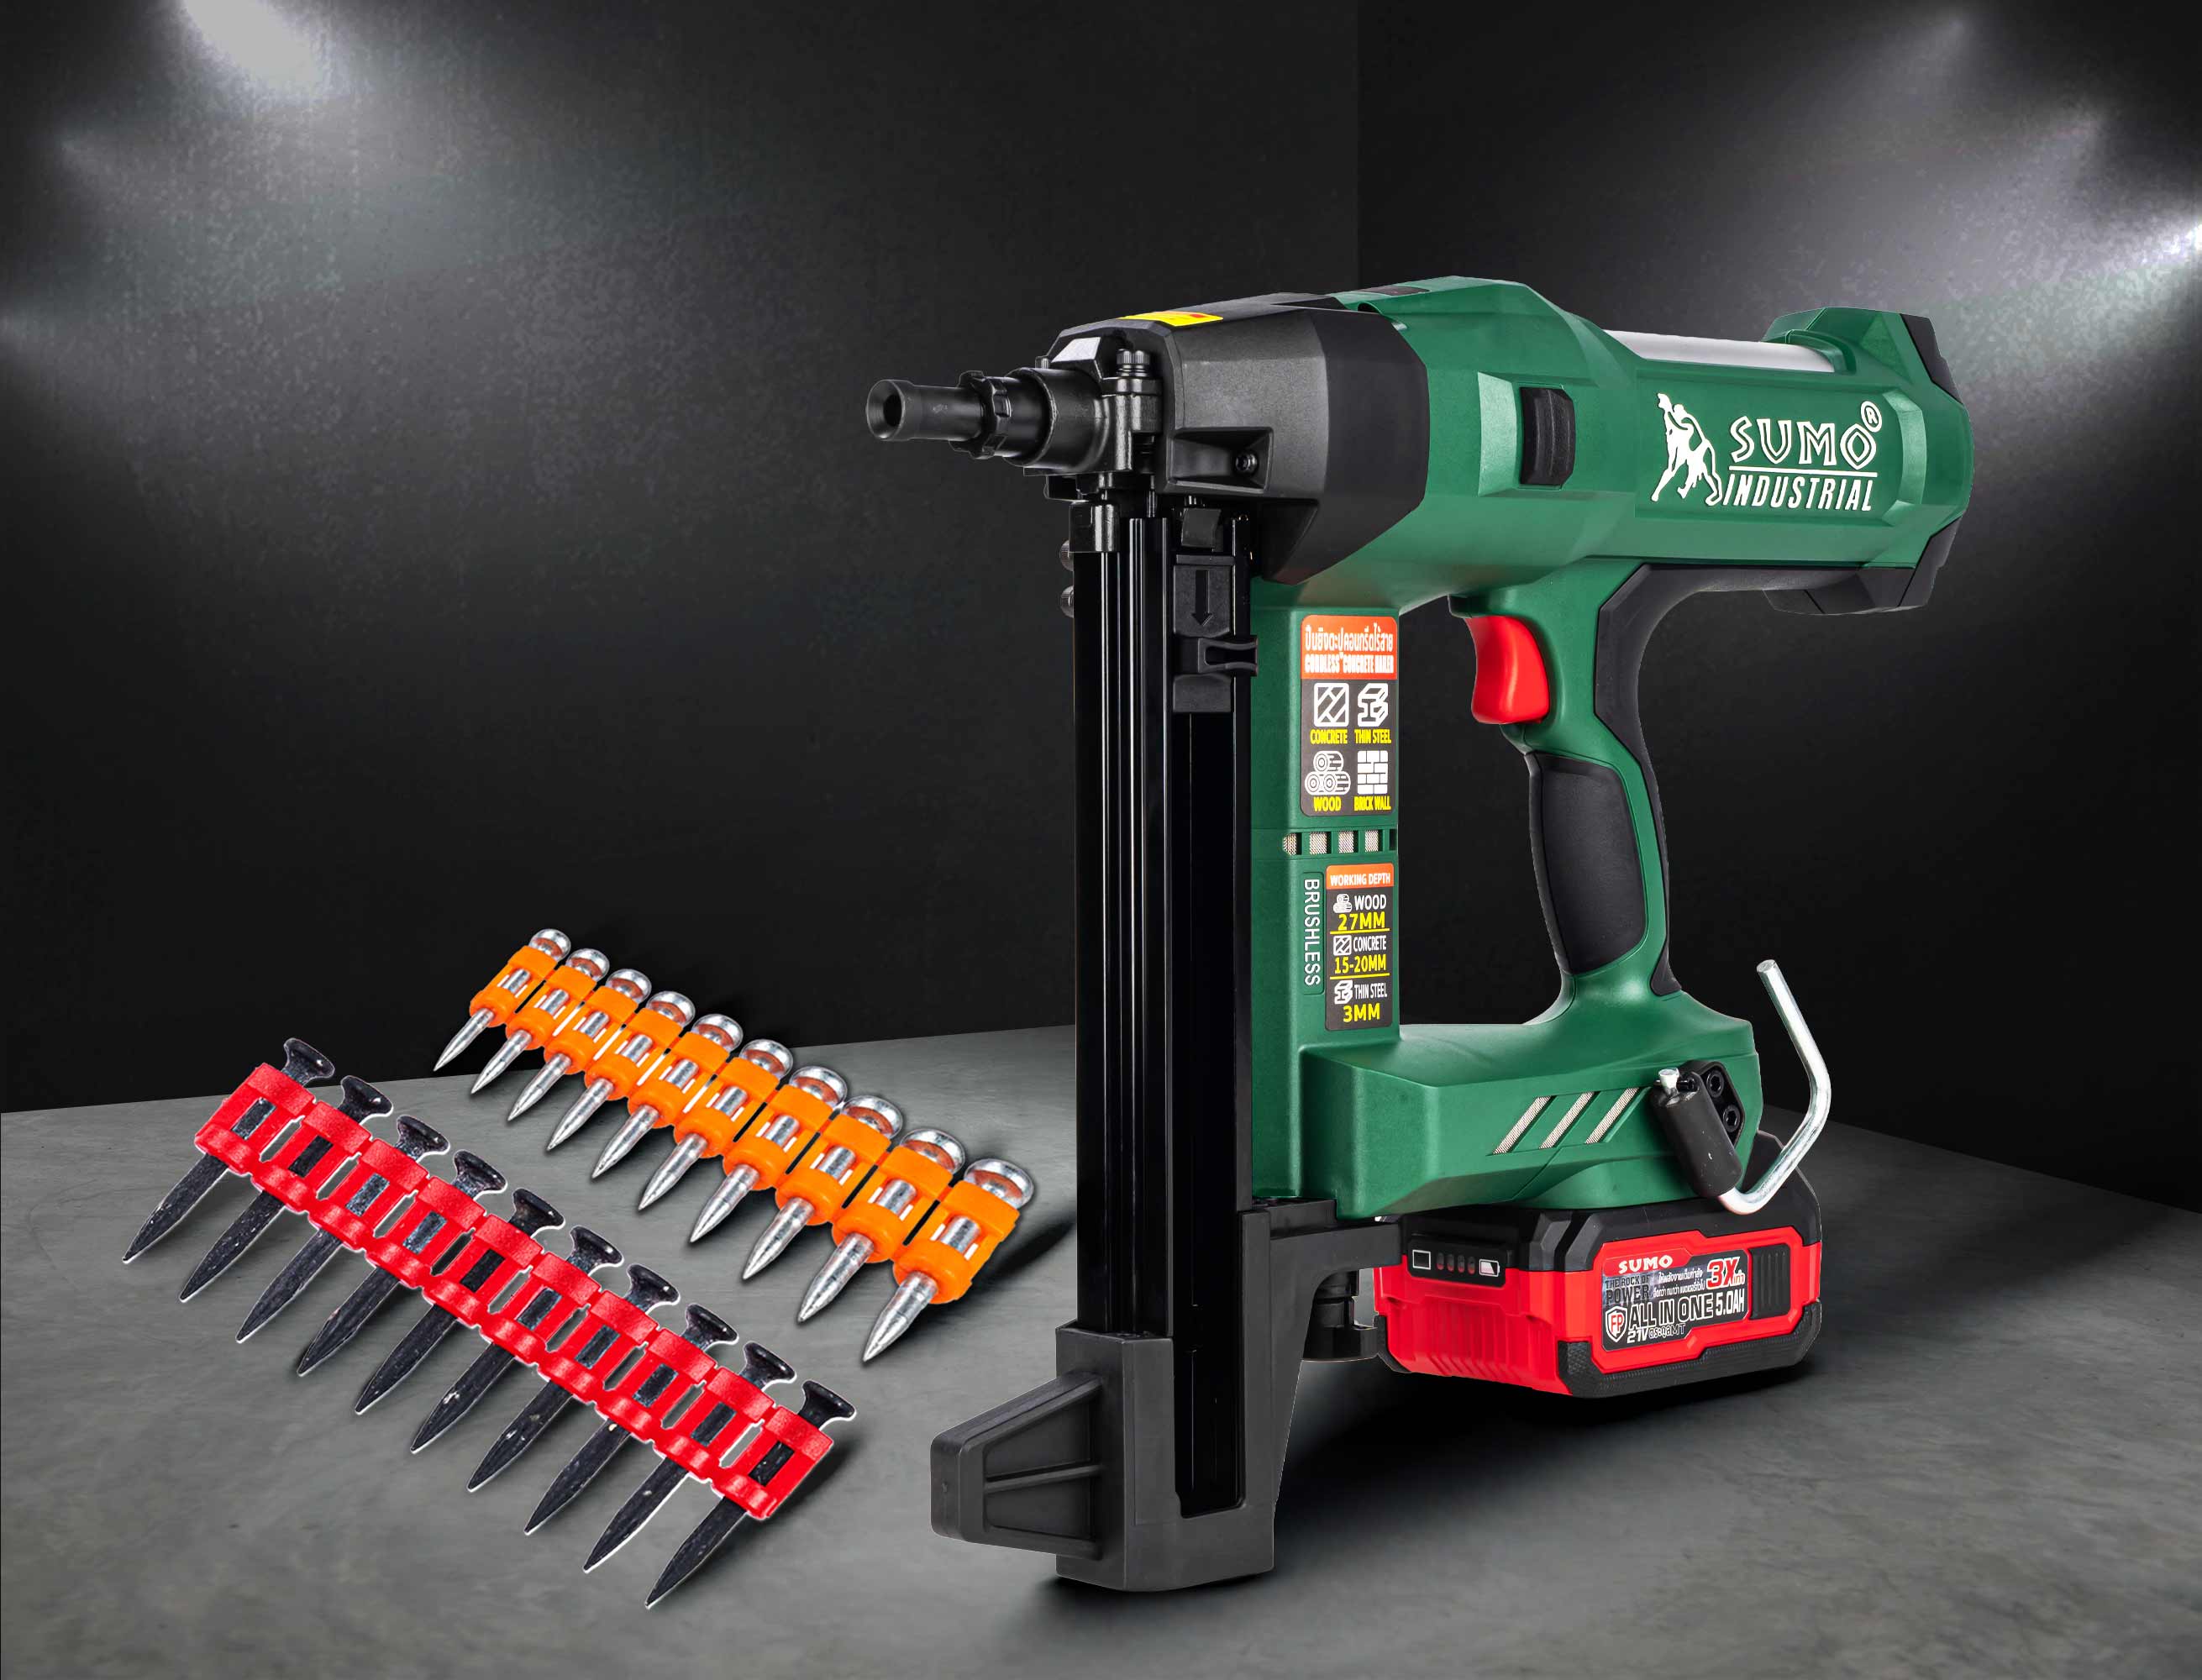
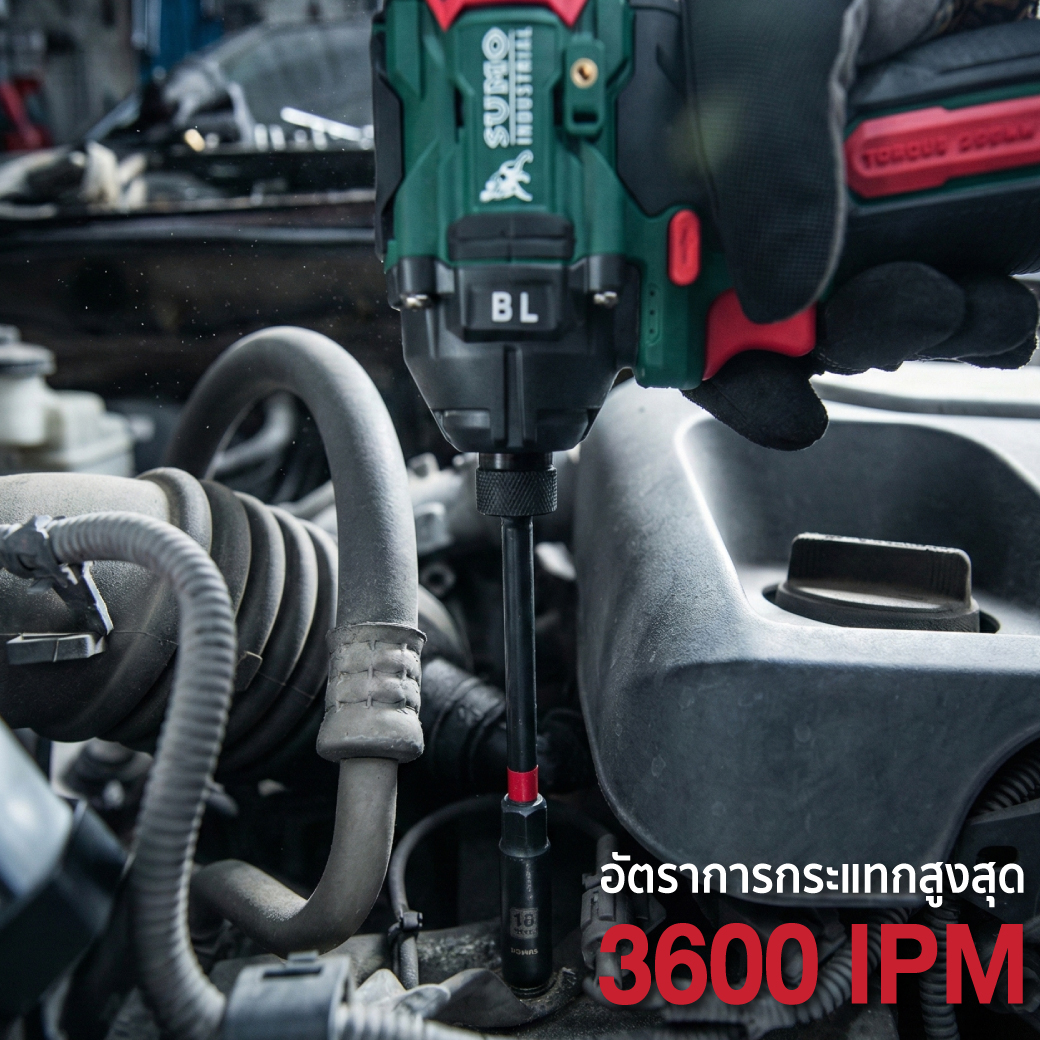
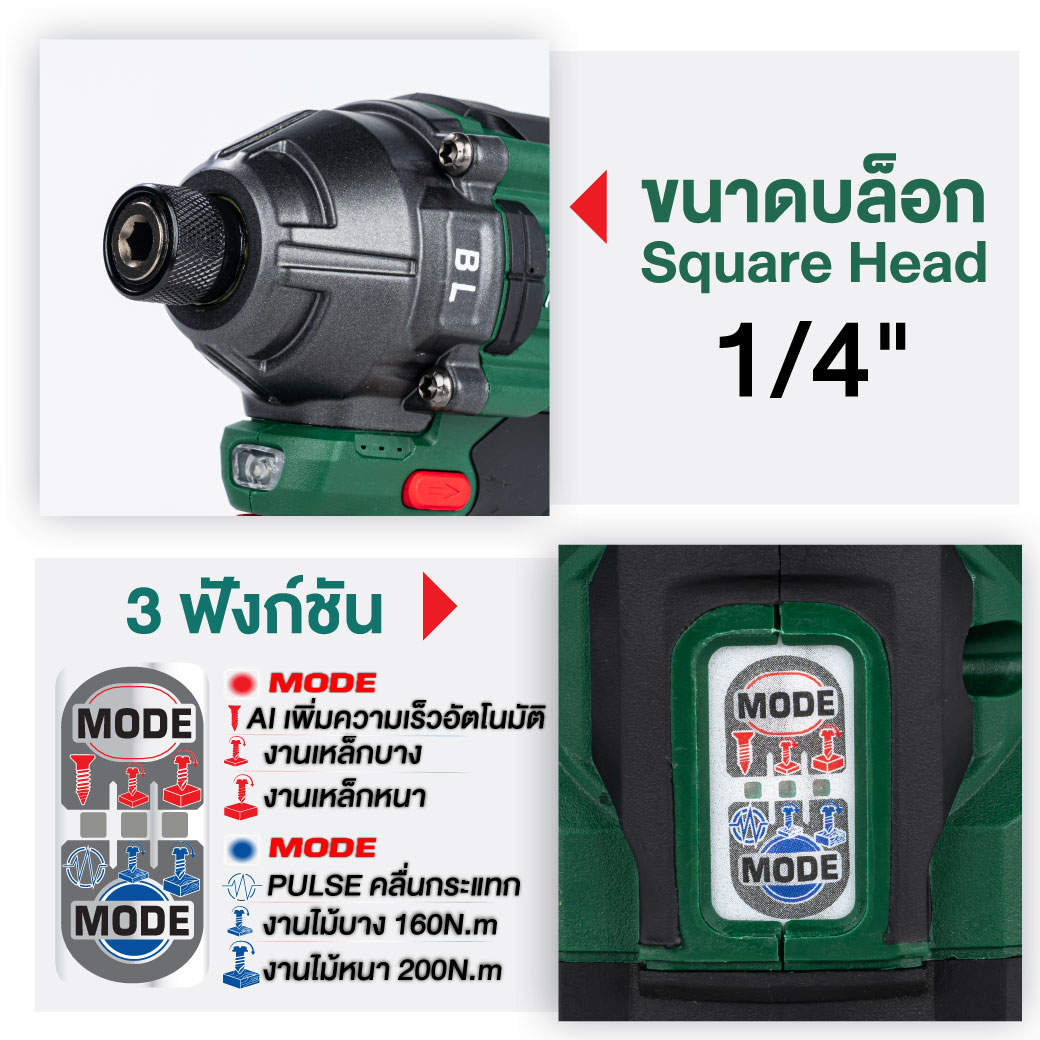
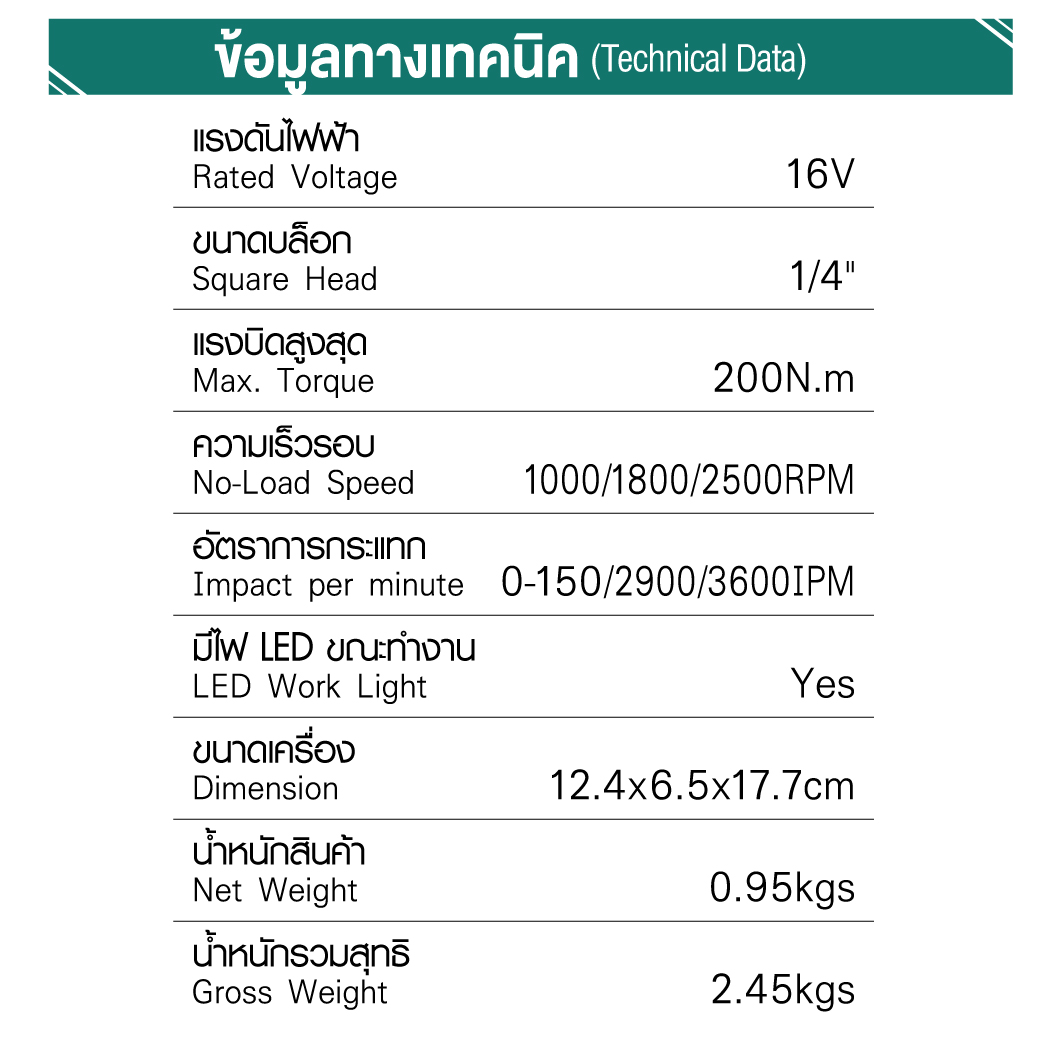
The impact driver can be adjusted to 3 impact levels: 3 (high), 2 (medium), and 1 (low). Each press of the Speed Level button changes the impact setting, corresponding to 3600, 2900, and 150 (Auto Pulse) ipm respectively.
Press the Mode button to switch the operating mode. The status will be indicated by a red light on the control panel: woodwork, thin metal, and thick metal, in order.
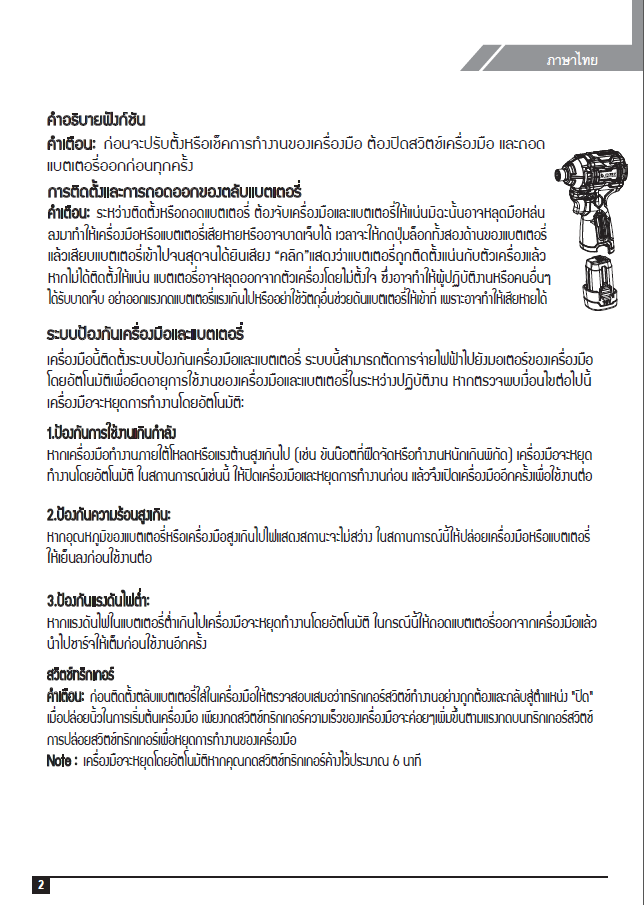
Hold the tool firmly and place the screwdriver bit on the workpiece. Apply pressure to the tool so that the bit does not slip out of the screw, then switch on the tool to begin operation.
If you need to use a spare battery for continuous operation, allow the tool to rest for at least 15 minutes before resuming work.
Always use a screwdriver bit that matches the screw or bolt head you are working with.
When fastening screws of size M8 or smaller, select the appropriate impact force and carefully adjust the pressure on the trigger switch to prevent screw damage.
Keep the tool aligned straight with the screw to avoid damage.
If the impact force is too strong or the screw is driven for too long, the screw or the screwdriver bit may be subjected to excessive pressure, which can cause wear, deformation, or breakage.
Always perform a test run before starting work to determine the proper fastening time.
Always make sure the tool is switched off and the battery pack is removed before adjusting or inspecting the tool’s functions.
Always check the rotation direction before operating the tool.
Use the reverse switch only when the tool has completely stopped. Changing the rotation direction before the tool comes to a complete stop may cause damage.
When the tool is not in use, always set the rotation direction selector to the neutral (center) position.
The trigger switch cannot be pressed and the tool will not operate if the rotation direction selector is set to the neutral position.
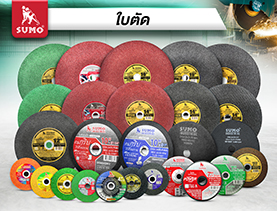
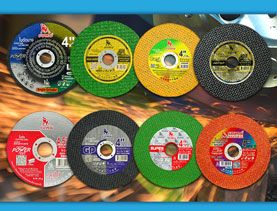
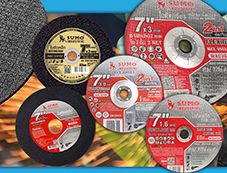
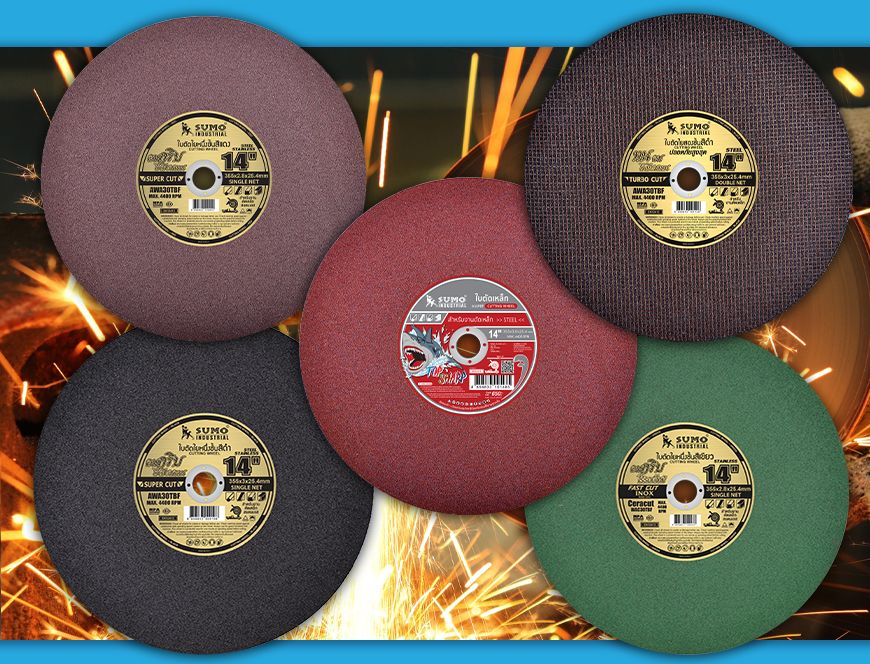
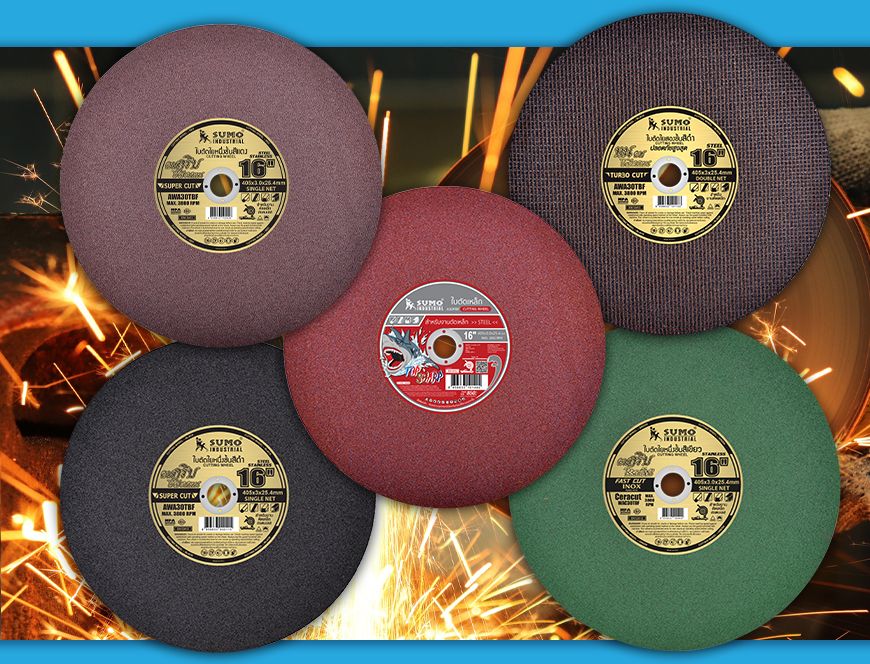
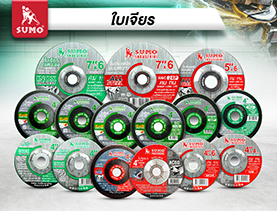
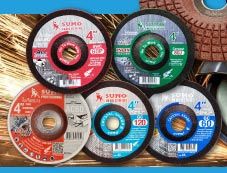
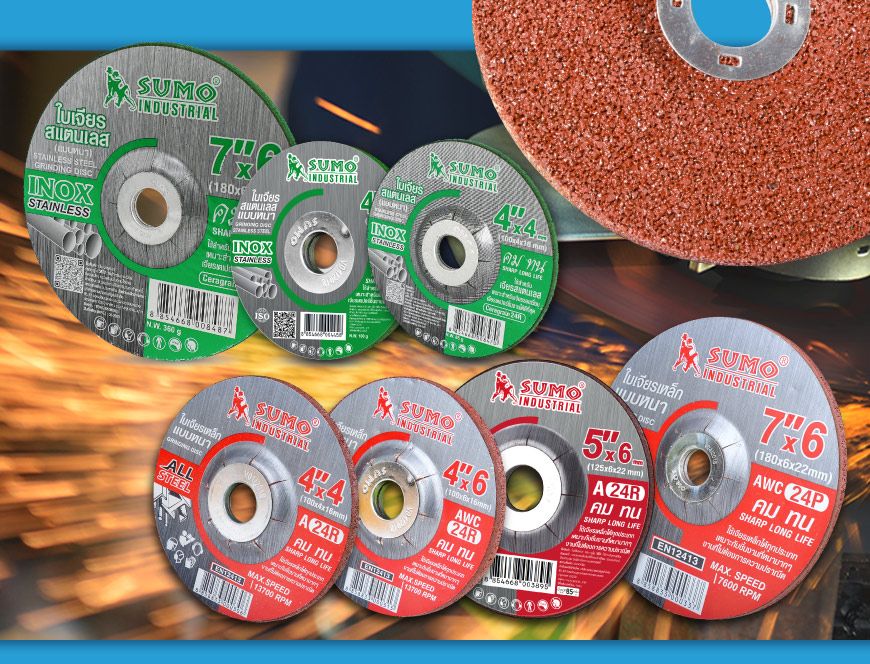
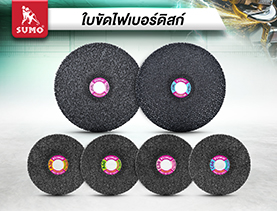
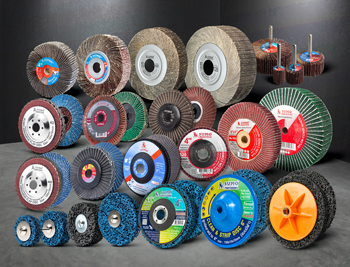
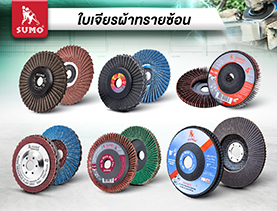
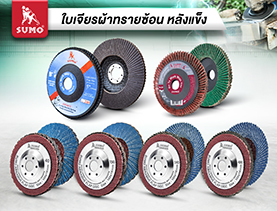
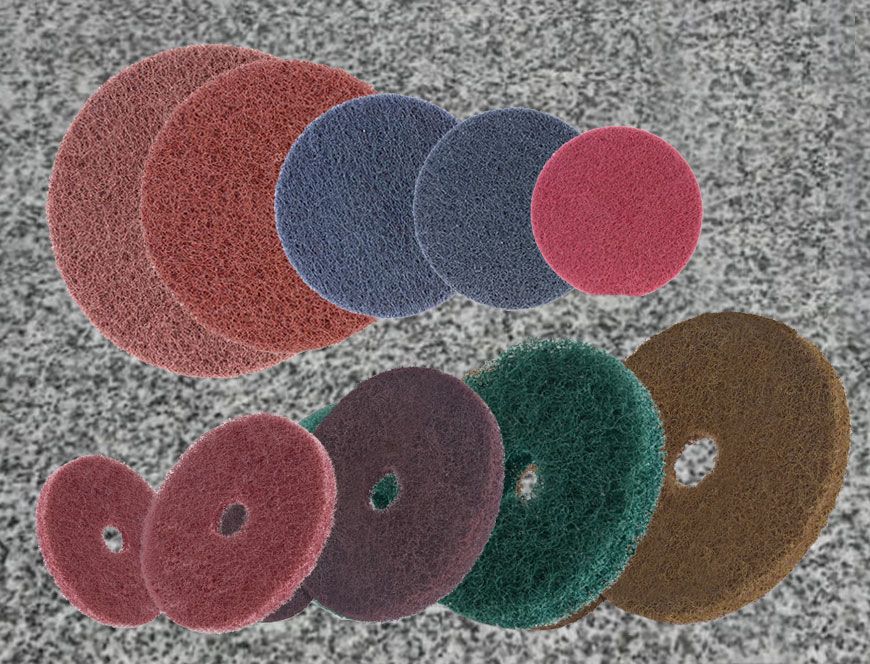
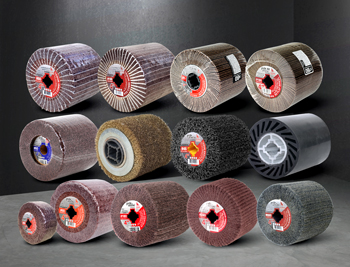
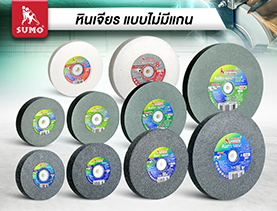
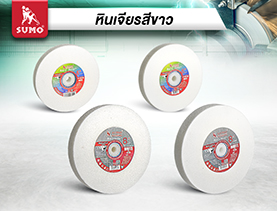
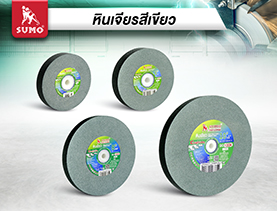
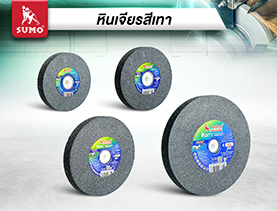
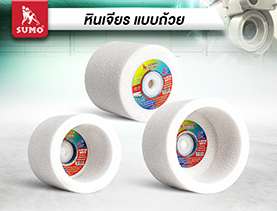
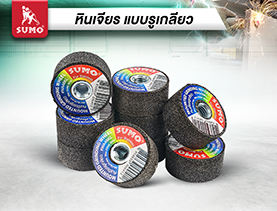
 1.เจียร ตัด ขัด ถู
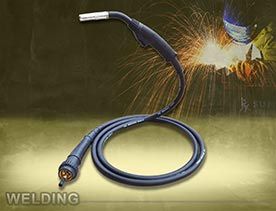
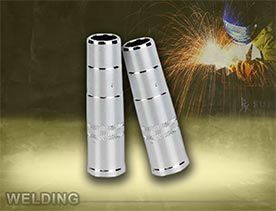
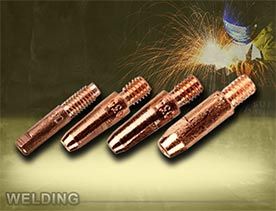
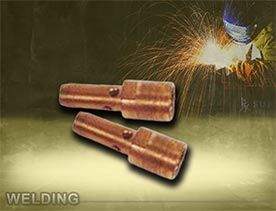
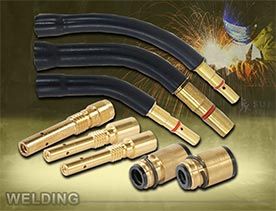
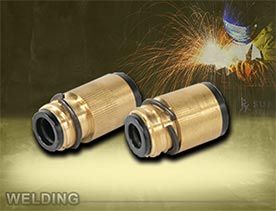
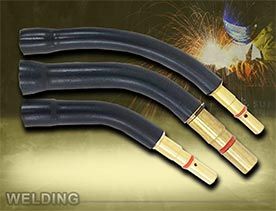
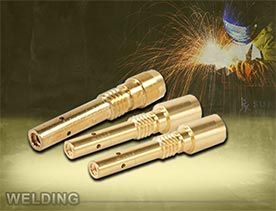
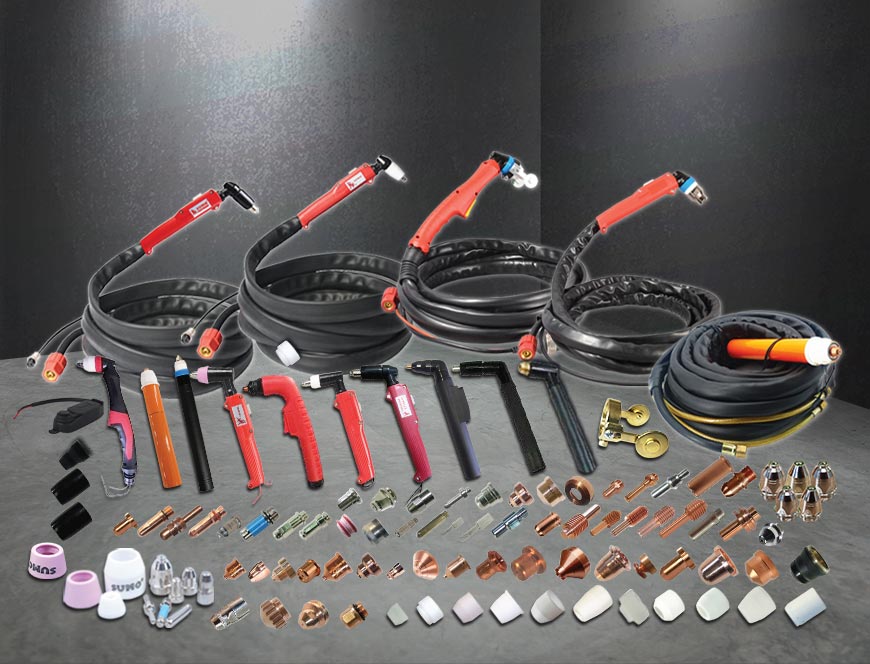
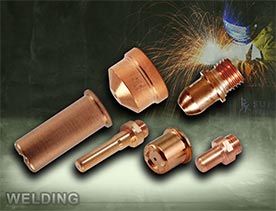
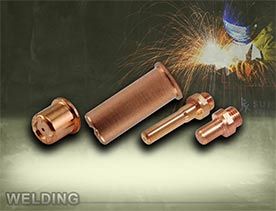
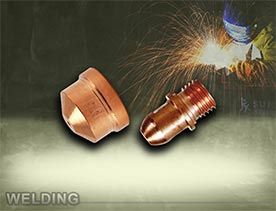
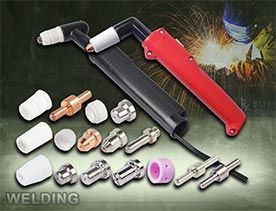
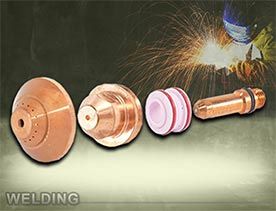
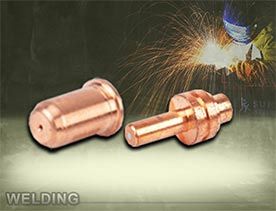
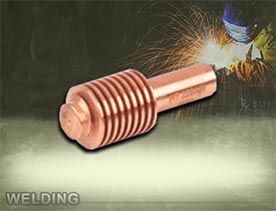
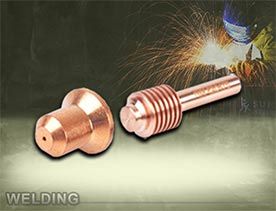
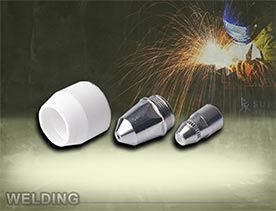
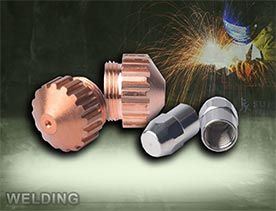
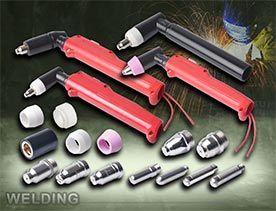
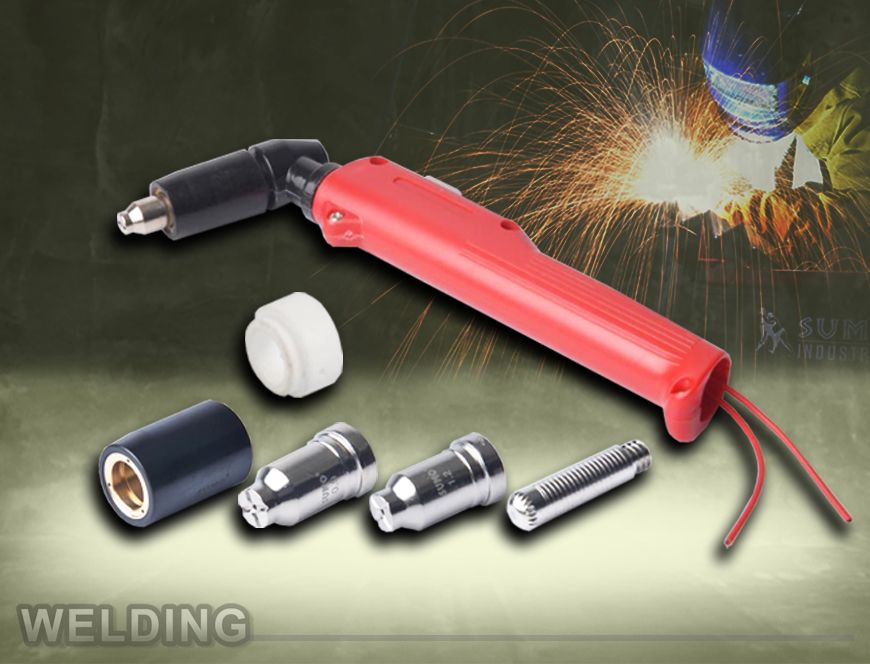
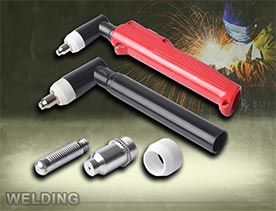
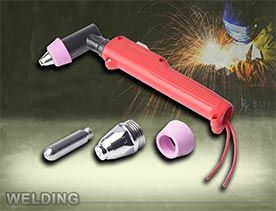
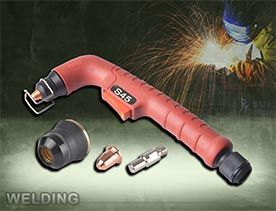
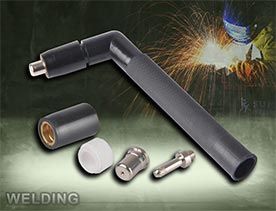
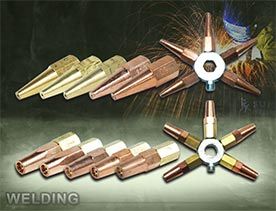
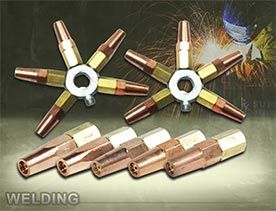
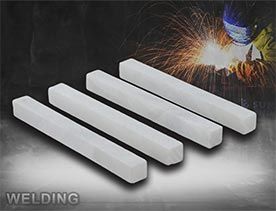
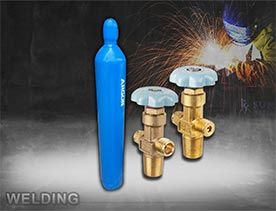
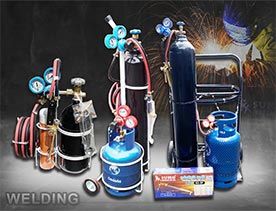
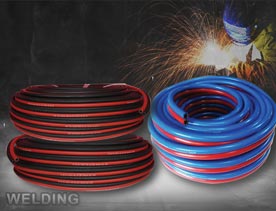
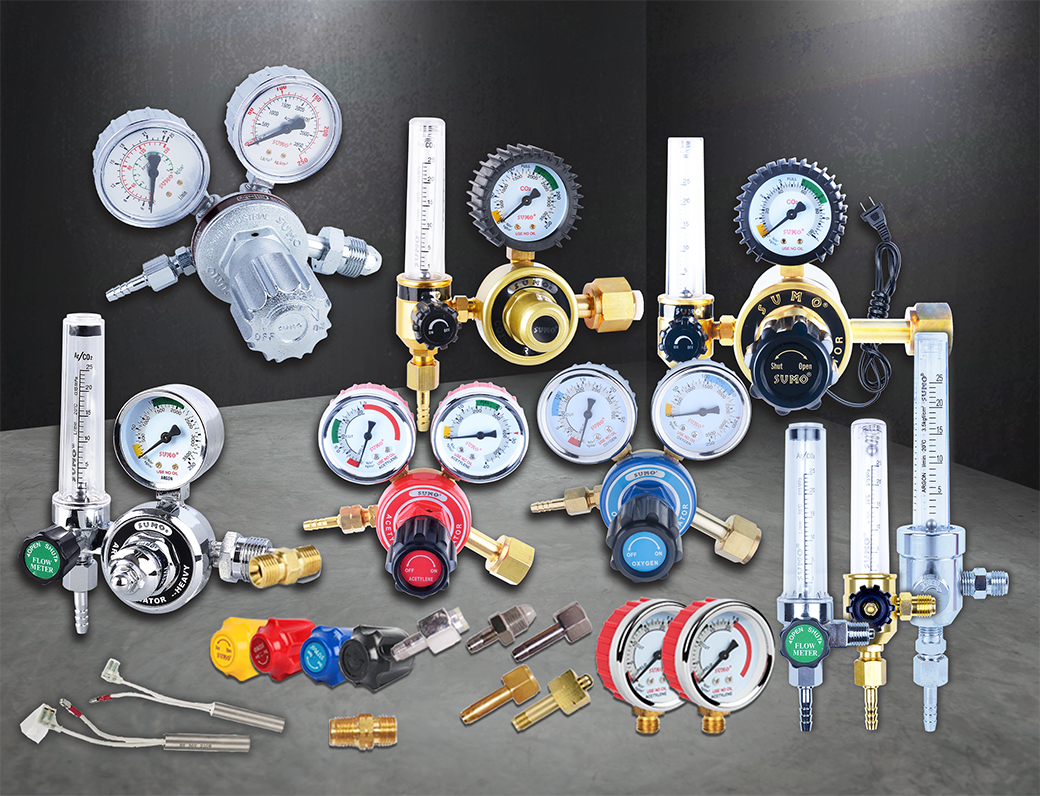
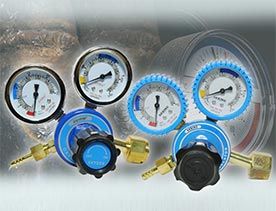
 2.งานเชื่อม ตัดพลาสม่า
  3.อุปกรณ์เพื่อความปลอดภัย
  4.เจาะ เซาะ กัด เลื่อย
  5.เครื่องมือวัด
  6.อุปกรณ์ไฟฟ้า
  7.อุปกรณ์ลม
  8.เครื่องมือไฟฟ้า
  9.ปั๊มน้ำ เครื่องอัดฉีด
  10.อุปกรณ์ดูแลรถยนต์
  11.เคมีภัณฑ์
  12.เครื่องมือ
  13.เครื่องจักร